 |
 |
| SV Talk, Tuning & Tweaking Discussion and chat on all topics and technical stuff related to the SV650 and SV1000 Need Help: Try Searching before posting |
 |
|
|
Thread Tools |
 19-01-11, 09:20 PM
|
#1 |
|
Guest
Posts: n/a
|
Hi guys,
Some of you may have seen my thread asking about how to paint up an engine, well im actually planning on giving the bike a complete refresh as it is looking alot worse than it should after 10 years! Below are the main jobs i will be doing, and i plan on doing a little write up for you all step by step.
So the first thing I set about doing was the engine, it was suprisingly simple to take out of the frame, you just have to be methodical and follow the manual, all in all it took me around 3 hours. It really was in a sorry state with lots of paint missing around the front cylinder, sump and both sides of the crankcase. So once out of the frame first thing to do was clean the thing up, it was FILTHY!!! I ended up using 4 different products to get it all off (degreaser, gunk, parafin, autoglym engine cleaner) and probably put in a good 5 hours doing so, though it should be worth it as everyone i spoke to said cleaning is the key as any grease or dirt will result in a poor finish. I then got myself some wirse bush drill attachments and got to work removing all the loose/oxidised paint from the engine. 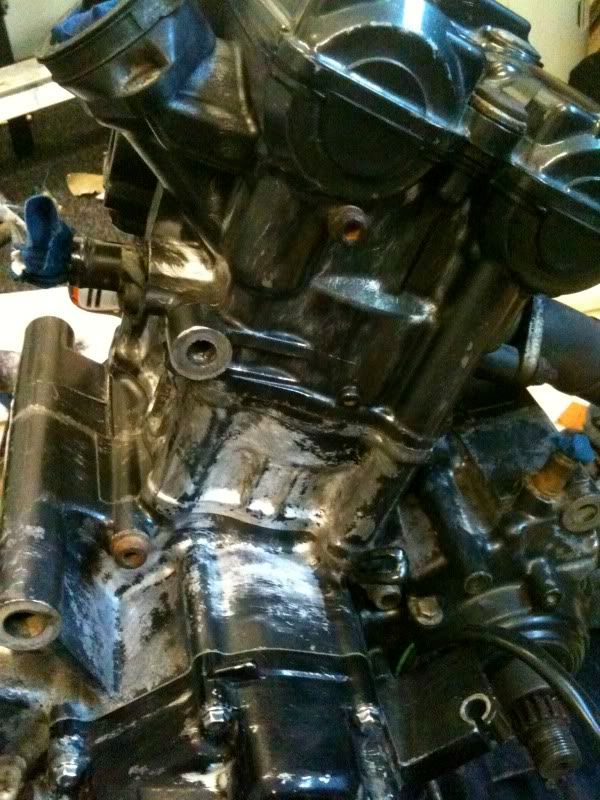  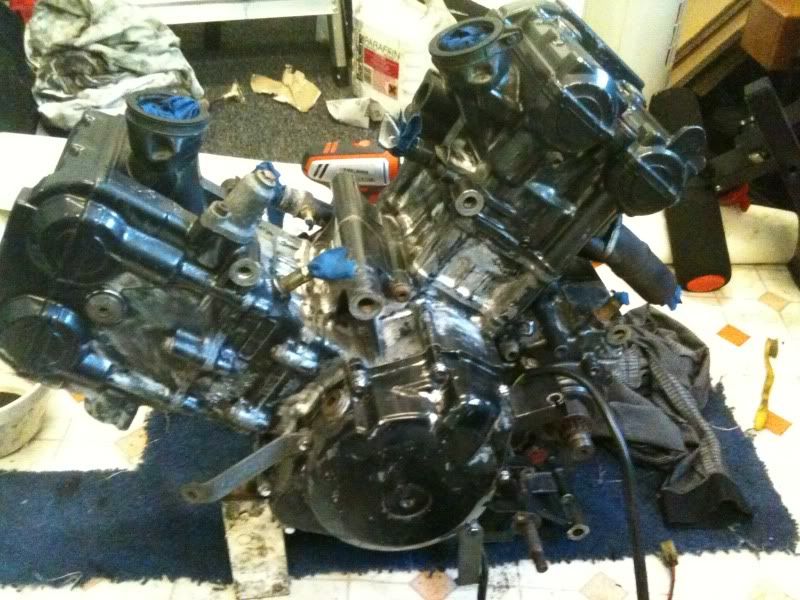 Then it was just a case of masking off/removing everything i didnt want painted and then a final clean of all the nooks and crannies. Removed the bolts to take the cover off but it wouldnt budge, so i left them out whilst i painted! 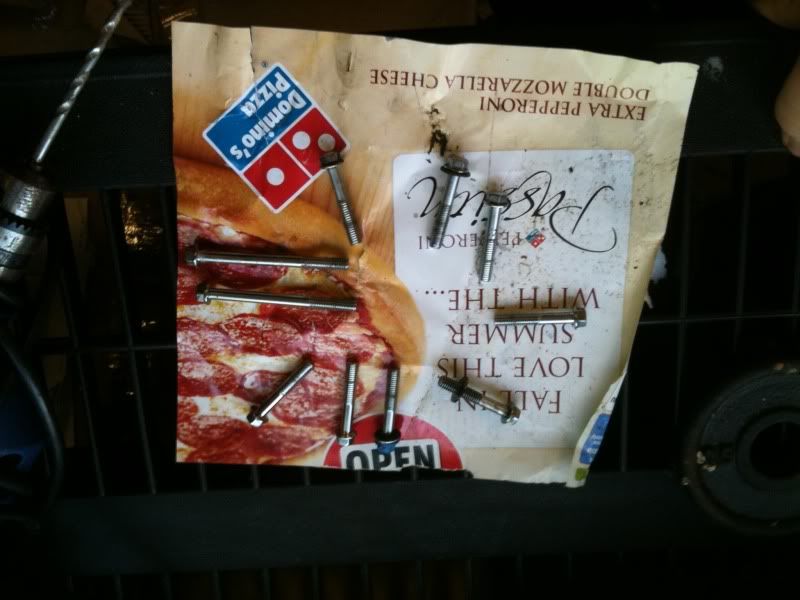 Just a heads up but it anyone takes off the speedo sensor then watch out for this little bearing, luckily the engine was on its side.... 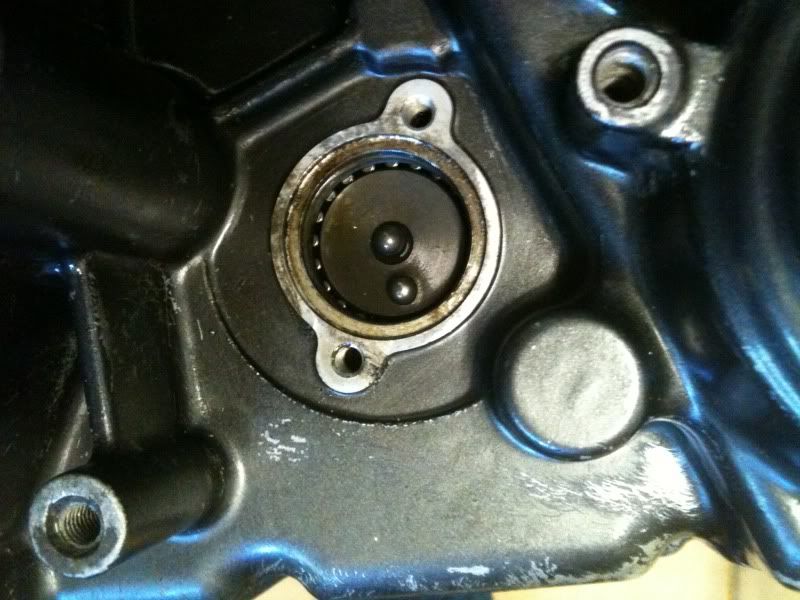 All masked up, 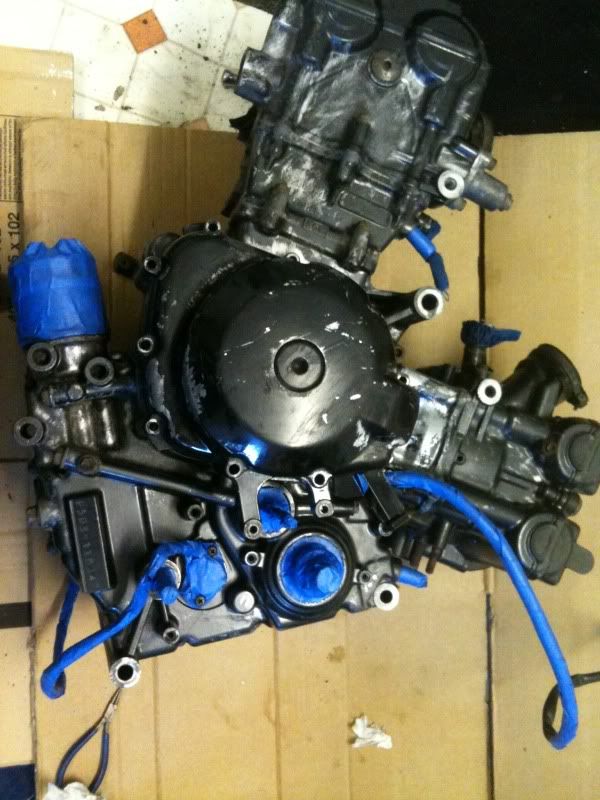 Let the painting begin!! 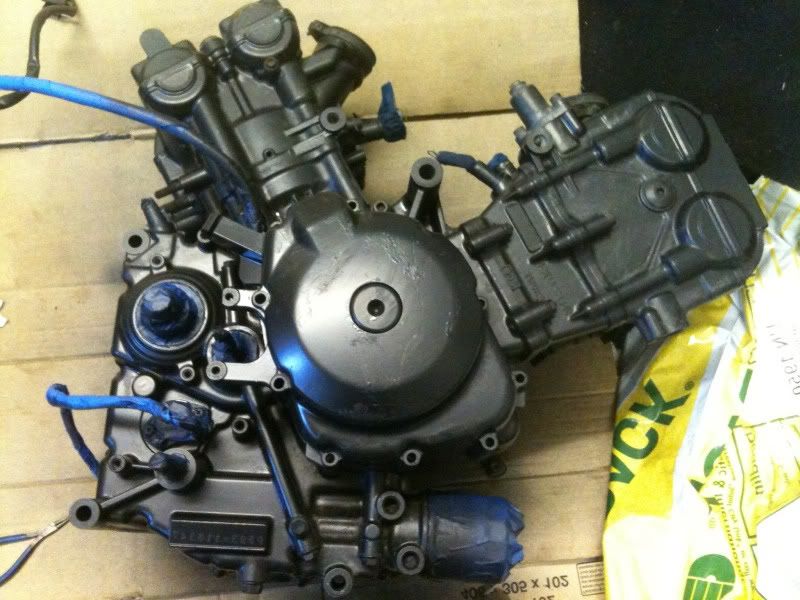 I have since done two more coats on that side of the engine and litterly just started painting in between the two cylinders. So far its looking very good, a nice satin black finish and dries suprisingly quick! Thats it for now!! Ash. Last edited by arcdef; 24-01-11 at 05:58 PM. |

|
|
19-01-11, 09:45 PM
|
#2 |
|
Guest
Posts: n/a
|
Looks like a fantastic project, will be keeping an eye on this!
|
|
|
|
19-01-11, 11:05 PM
|
#3 |
|
Guest
Posts: n/a
|
what paint are you using
|
|
|
|
19-01-11, 11:12 PM
|
#4 | |
|
Guest
Posts: n/a
|
Quote:
") Sorry mate, couldn't resist it |
|
|
|
|
22-01-11, 01:37 PM
|
#5 | |
|
Guest
Posts: n/a
|
Quote:
Keep up the good work, and remember pics are always welcome |
|
|
|
|
22-01-11, 08:22 PM
|
#6 |
|
Knob faced knobster
Mega Poster

Join Date: Jan 2005
Location: Haslemere
Posts: 5,422
|
If I was you I'd get the rear subframe(might as well get the front one done at the same time), peg hangers etc powder coated. It'll be much more durable than painting it
__________________
2011 Speed Triple 1050 |

|
|
|
24-01-11, 05:57 PM
|
#7 |
|
Guest
Posts: n/a
|
Right, a very small update with regards to the undertray. After much consideration i have started chopping it up to try and accomodate the battery in a different position.
So this is how it looked before:  I am essentially going to have the battery placed on its side and directly behind the original position.......leaving me with somethign like this: 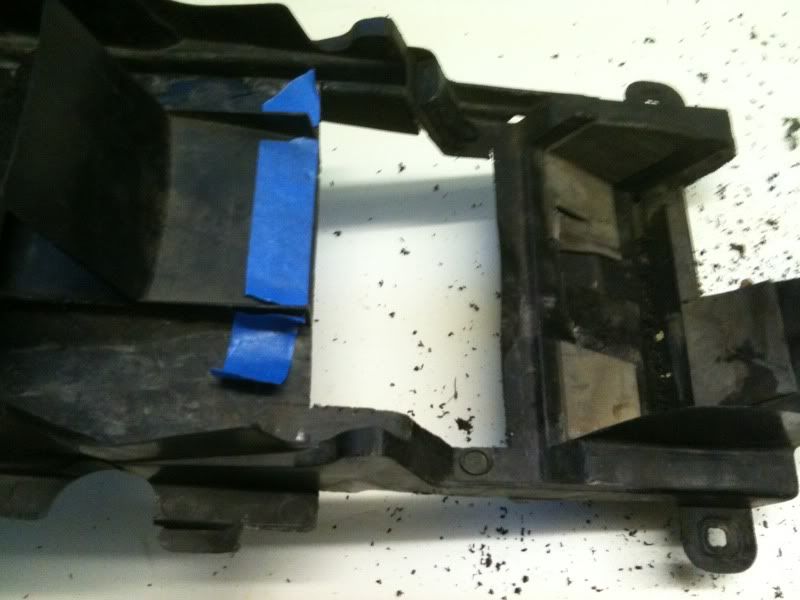 how the battery will sit: 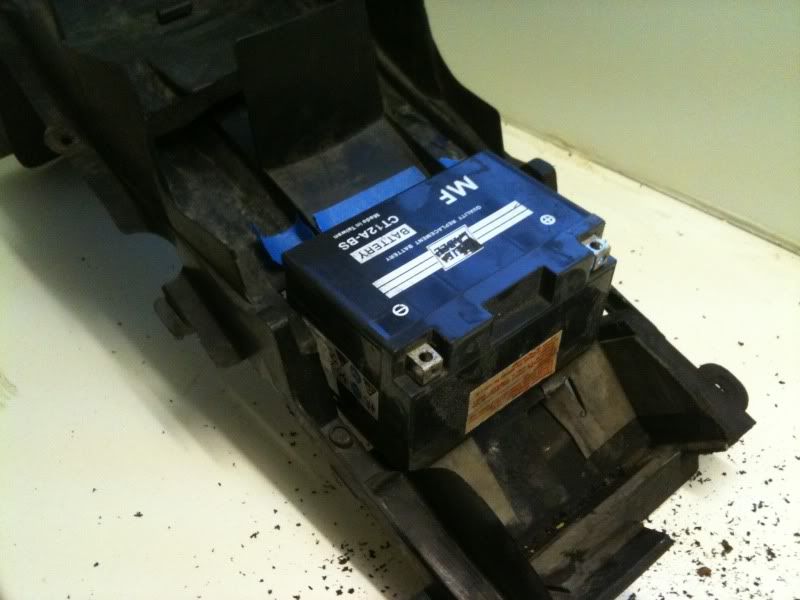 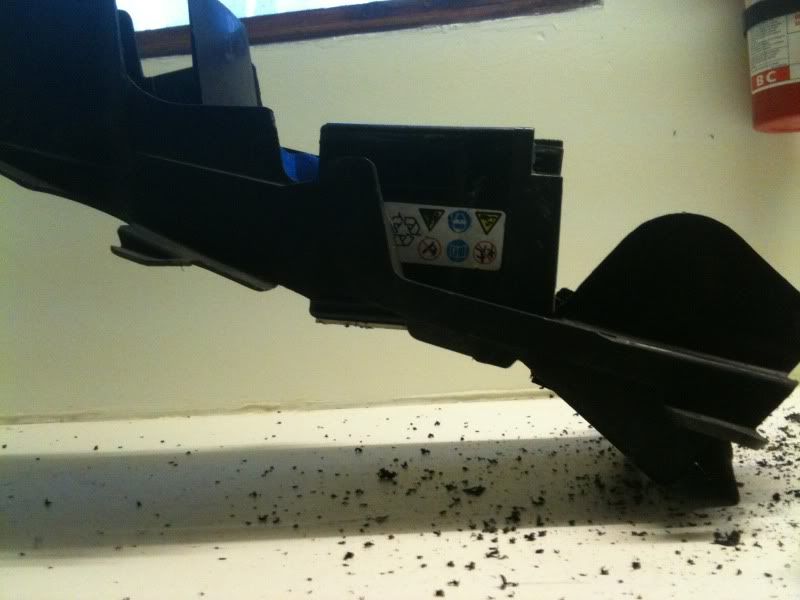 Now does anyone know how close to the undertray the rear wheel will ever get??? The new position will only take up around 2cm of room but im slightly concerned as there is a wheel shaped recess in the undertray...... Any advice owuld be greatly welcome! Oh and i have purchased the paint from a place called RS Bike Paints, the engine paint isnt listed on the website but came highly recomended by my local dealership and sounds very easy to use. No need for primer just paint wait 2 hours to dry then once back in the bike run it for 2 hours to harden it! Will have to wait and see if its really that good. Last coat should be on by tonight so may get on with re fitting it tomorrow! Cheers, Ash. |
|
|
|
|
|
 Similar Threads
|
||||
| Thread | Thread Starter | Forum | Replies | Last Post |
| Tail tidy for 2000 Curvy | Malven1 | Stuff Wanted | 3 | 07-12-08 05:36 PM |
| 2000 SV650 Tail Tidy. | jon holt | SV Talk, Tuning & Tweaking | 1 | 28-08-07 09:12 PM |
| Tail Tidy for SV650S Curvy 2000 | Rick-UK | Stuff Wanted | 30 | 17-01-07 06:51 PM |
| Tail Tidy. Tail Tidy...Sell me your Tail Tidy.... | 1world2wheels | Stuff Wanted | 7 | 15-07-06 10:09 AM |
| Fitting tail tidy to 2000 SY model | HKP | Bodywork | 4 | 24-05-05 12:44 PM |

