 |
 |
| SV Talk, Tuning & Tweaking Discussion and chat on all topics and technical stuff related to the SV650 and SV1000 Need Help: Try Searching before posting |
 |
|
|
Thread Tools |
 24-12-11, 05:55 PM
|
#1 |
|
Guest
Posts: n/a
|
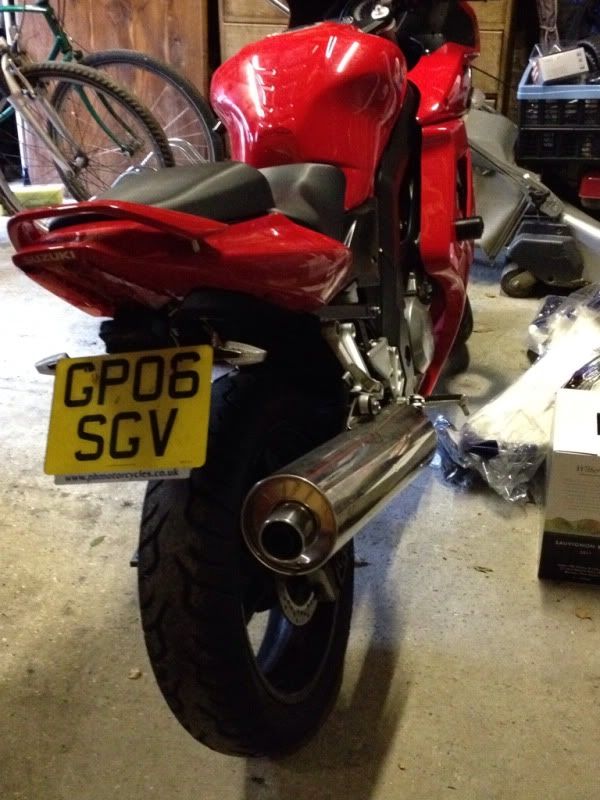
Today I fitted my rear tail tidy for my K6. For those who are thinking about doing this it is not something to be taken lightly and you should reserve about 3 hours.
There are many bolts to undo to remove the fairing. You start by taking both seats off, then remove the obvious 6 screws holding on the rear trim and then you have to find the less obvious hidden screws at the rear of the tail housing behind the rear lights (4 of them) plus some pop out plastic trim rivets underneath and inside the tail. Took me about 2 hours to do this without breaking anything just to get the old snow scoop style rear tail housing out so I could fit the new tail tidy. The bike looked absolutly naked by the time I had reached the bolts I needed to reach. On te plus side fitting it back again was very quick becasue I knew were eveything went. It has however now transformed the look of the rear end, instantly making the skinny rear tire somehow look bigger and the rear now looks sexy as hell without all that wobby plastic. I am getting some rear LED indicators in my stocking tomorrow so I will take some pictures of it when it is all complete. My project is to have everything possible tinted or black with the exception of the bodywork which is factory red in colour. So I have some E marked tinted LED front fairing mounted indicators, tinted double bubble screen and a matte black TMC exhaust to fit. I will get pics on line shortly. Last edited by Syy; 24-12-11 at 05:57 PM. |

|
|
26-12-11, 10:11 AM
|
#2 |
|
Guest
Posts: n/a
|
|
|
|
|
26-12-11, 10:56 AM
|
#3 |
|
Member

Join Date: Mar 2011
Location: Falmouth
Posts: 621
|
Looks very nice but be prepared to wash it more often as with a tail tidy the entire rear end (including seat) will get covered in road muck. I went back to the snow plough asI prefer the standard look and cleaner bike.
Red wheel tape next? Last edited by MJC-DEV; 26-12-11 at 10:56 AM. Reason: typo |

|
|
|
26-12-11, 11:57 AM
|
#4 |
|
Guest
Posts: n/a
|
Ah good to know its quite an operation. I have my tail tidy and indy's sitting in a box until I get the resistors for the LEDs.
Also good to know that it will get dirtier, I might leave the standard one on for the rest of the...um...winter...it is winter right? |
|
|
|
26-12-11, 01:25 PM
|
#5 |
|
Guest
Posts: n/a
|
This weekend i have also fitted the standard tail. The chap who installed the tail tidy done a right crap job, it wobbled like hell and half the time the number plate wasnt facing the right direction. I quite like the look of the standard one. The only problem i have now is, as the rear indicators are about 10" further away the wires dont reach to plug in anymore! Boooo.
You are correct though, ever putting it back to standard taken a couple of hours. I thought it would be ten mins and done! Never the way is it ! |
|
|
|
26-12-11, 08:02 PM
|
#6 | |
|
Member
Mega Poster

Join Date: Mar 2007
Posts: 9,097
|
Quote:
http://www.ebay.co.uk/itm/4002501242...ht_1350wt_1139
__________________
We're riding out tonight to case the promised land Make everyday count RIP Reeder - Jolly Green Giant and comedy genius |
|
|
|
|
|
26-12-11, 09:18 PM
|
#7 |
|
Guest
Posts: n/a
|
I brought one of those relays. Simple plug and play, located under the rear seat.
|
|
|
|
26-12-11, 09:44 PM
|
#8 |
|
Guest
Posts: n/a
|
Nice one. Thanks maviczapp
|
|
|
|
27-12-11, 07:48 PM
|
#9 |
|
Guest
Posts: n/a
|
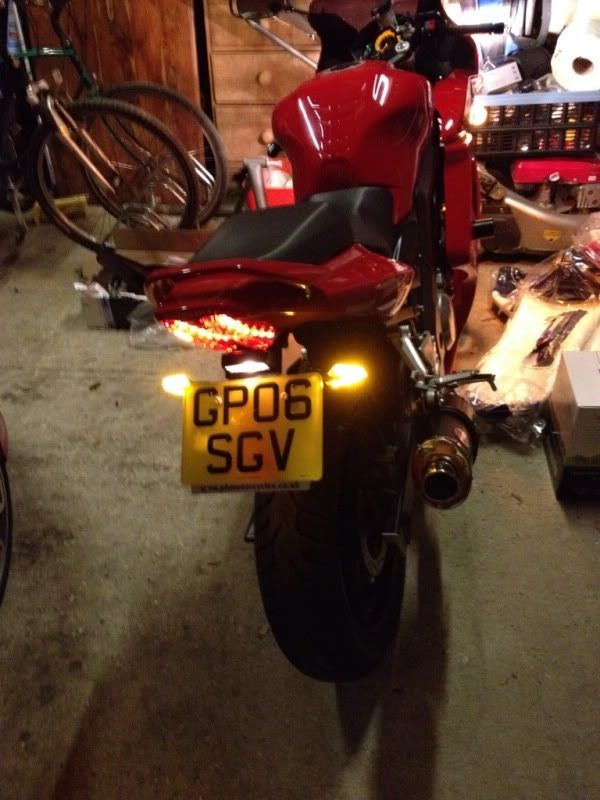 LEDs fitted and working well! |
|
|
|
27-12-11, 07:49 PM
|
#10 |
|
Guest
Posts: n/a
|
 New matte black TMC exhaust fitted. Sounds amazingly bassy and slightly offensive without the baffles in! |
|
|
|
|
|
 Similar Threads
|
||||
| Thread | Thread Starter | Forum | Replies | Last Post |
| Random pointy bits - black plastics, tail tidy and more | etuna | Stuff Wanted | 7 | 03-06-08 06:02 PM |
| Evotech Tail Tidy Fitted - Question | Drew Carey | SV Talk, Tuning & Tweaking | 20 | 26-04-08 06:36 PM |
| New Exhaust and Tail Tidy fitted :D | mikeharibo | Photos | 8 | 13-01-08 09:41 PM |
| Carbon Viper Can, Black belly pan and tail tidy | dksv650 | Photos | 6 | 12-10-06 10:09 AM |
| K5 Pointy - Exhaust, Tail Tidy, TRE, Hugger (black) | david-m | Stuff Wanted | 0 | 17-07-06 07:39 AM |

