 |
 |
 28-08-09, 08:19 PM
|
#61 |
|
Guest
Posts: n/a
|
right then, todays work!
this is a picture of the side of the frame i hadn't started on yet before starting work 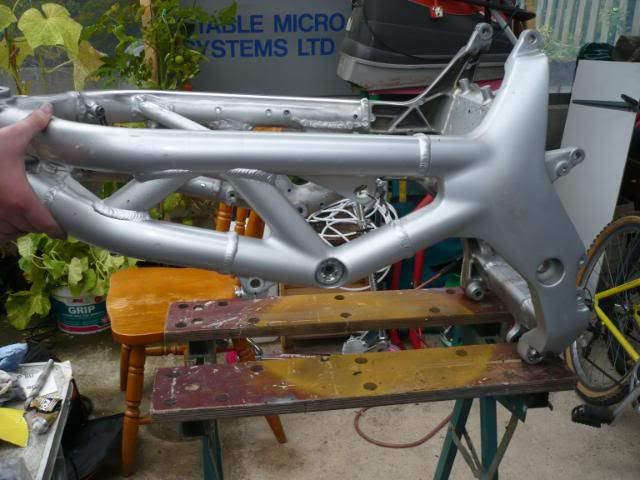
|

|
|
28-08-09, 08:27 PM
|
#62 |
|
Guest
Posts: n/a
|
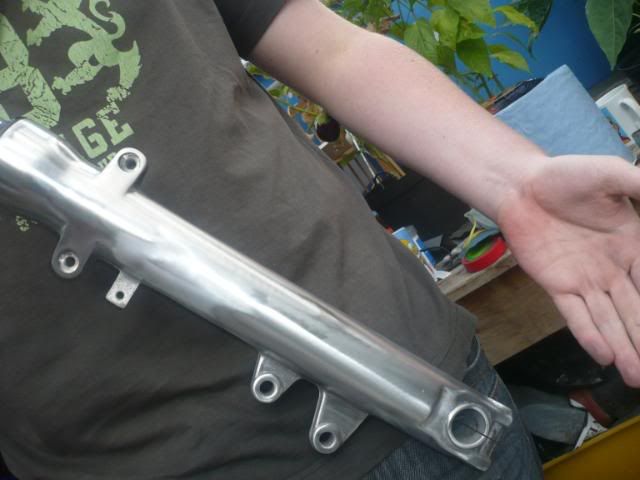
this one is after starting with the abrasive compound and some 80 grit wet and dry paper
 And another one on the side part of the frame 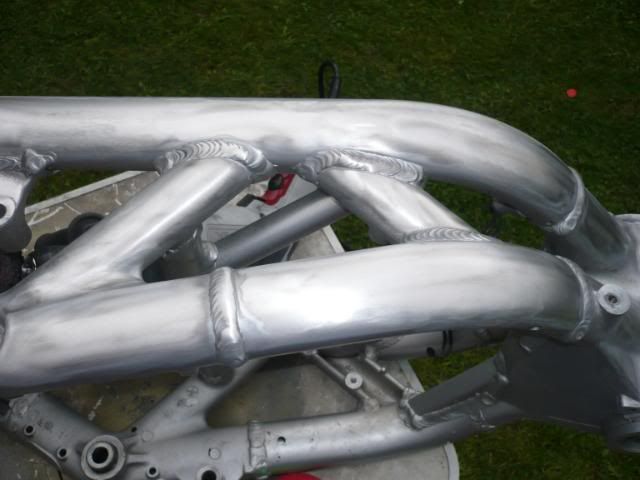 Then as before, the stage afterwards is the polishing with the mop and polish from the polishing kit, this is a photo of us just starting it 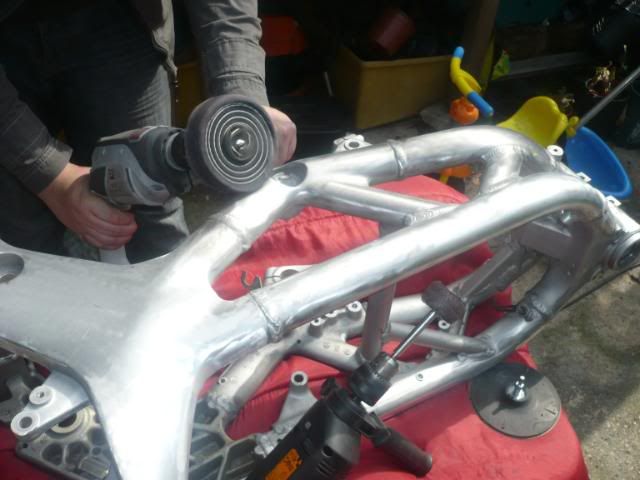 This is the frame after using the mop and polish for a while 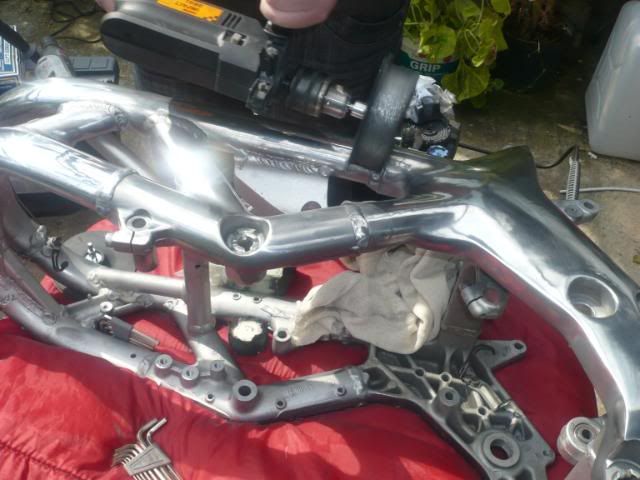 And this is the end product after the polish and a quick rub down with autosol 
|
|
|
|
28-08-09, 08:30 PM
|
#63 |
|
Guest
Posts: n/a
|
BLING! nice!
|
|
|
|
28-08-09, 08:35 PM
|
#64 |
|
Member
Mega Poster

Join Date: Jun 2006
Location: Wakefield, West Yorks'
Posts: 1,129
|
Holy moly, that's shiney. Nice work.
__________________
'52 Curvy S | So good.....it made me want to trump! If at first you don't succeed - use more gaffa tape. |

|
|
|
28-08-09, 08:38 PM
|
#65 |
|
Guest
Posts: n/a
|
As cool as that looks, I can honestly say that I really couldnt be bothered to do it myself!
Good work though |
|
|
|
28-08-09, 08:41 PM
|
#66 |
|
Guest
Posts: n/a
|
Then as it wasn't too late on this afternoon I decided to have a go at the forks and that we were going to start putting it back together
  Hopefully you'll all remember how the swingarm came out earlier on in this thread but if not then here's a reminder Then starts the rebuilding, obviously everything is going to need to be polished a bit with the autosol when it's been put back together as you can't avoid touching it!  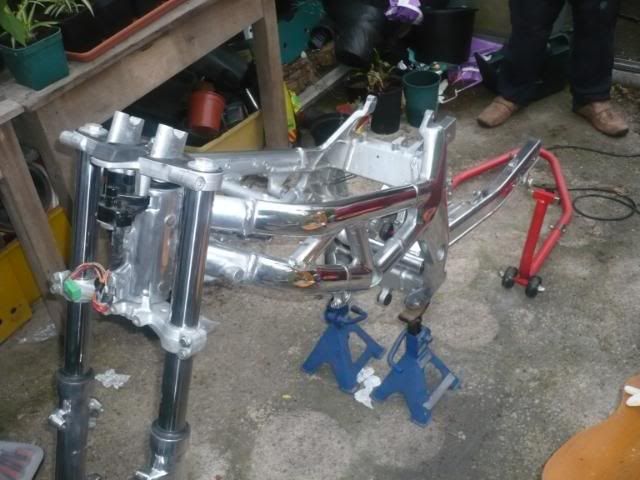  You'll have to excuse the mess in the background as we've had to move into the greenhouse as it was making far too much mess in the conservatory and it wasn't fair on the wife as she is quite heavily pregnant and was having to clean up every day. Plus if it's cold outside but the sun's out it's far too hot in there!!! Let me know what you all think anyway and I'm hoping to carry on with it tomorrow and progress a bit further. Plan is to attach the rear subframe back on and anything else I want polished before it goes back on I'll do aswell. Hopefully tomorrow it'll start to look more like a bike again!! 
|
|
|
|
28-08-09, 08:41 PM
|
#67 |
|
Member
Mega Poster

Join Date: Mar 2007
Posts: 9,097
|
You'll need welders goggles to view it in broad daylight
__________________
We're riding out tonight to case the promised land Make everyday count RIP Reeder - Jolly Green Giant and comedy genius |
|
|
|
|
28-08-09, 08:56 PM
|
#68 |
|
fantabulas
Mega Poster

Join Date: Apr 2004
Location: Nr Durham
Posts: 4,940
|
have you protected the bling in anything?
as in lacker?
__________________
My Flickr photos |
|
|
|
|
28-08-09, 09:02 PM
|
#69 |
|
Guest
Posts: n/a
|
you are my hero! no seriously that is truly amazing!!
autosol will finish it off lovely and adds a protective barrier too! Also - leading edge tape would be a good way to protect the front of the forks - it what the use on helicopter blades - completely c-thru and quite thin so you don't get a sticker line Last edited by GavinD; 28-08-09 at 09:06 PM. |
|
|
|
28-08-09, 09:19 PM
|
#70 | |
|
Guest
Posts: n/a
|
Quote:

|
|
|
|
 |
|
|
 Similar Threads
|
||||
| Thread | Thread Starter | Forum | Replies | Last Post |
| stripped heads | Wideboy | Bikes - Talk & Issues | 10 | 08-07-08 09:15 PM |
| Help - Stripped Thread!!! | Alpinestarhero | SV Talk, Tuning & Tweaking | 22 | 17-11-07 11:58 PM |
| SV650 (99 Curvy Model) STRIPPED! | CrazyPassenger | For Sale - SV's and SV related items | 41 | 06-11-07 12:44 PM |
| Cleaned and polished! | muffles | Photos | 13 | 12-09-06 09:00 PM |
| All cleaned & polished | Robbo_ | SV Talk, Tuning & Tweaking | 4 | 12-09-05 08:02 PM |

