 |
 |
| SV Talk, Tuning & Tweaking Discussion and chat on all topics and technical stuff related to the SV650 and SV1000 Need Help: Try Searching before posting |
| View Poll Results: Did You Find This Guide Usefull? | |||
| Hell Yes ! |
|
7 | 58.33% |
| Hell No ! |
|
3 | 25.00% |
| Hell ! Hell ! Hell ! ... Sorry what's the question? |
|
2 | 16.67% |
| Voters: 12. You may not vote on this poll | |||
 |
|
|
Thread Tools |
 19-02-13, 12:49 AM
|
#1 |
|
Guest
Posts: n/a
|
Hello
This may seem like a stupid guide / thread. Yet if it helps ONE person, or gives someone a heads up on what to expect when changing bulbs over. Then it was worth while me doing this patronising "How To"  What You'll Need: Gloves - Completely optional, but touching the glass of light bulbs, especially higher specification types, can reduce the life of the bulb itself. Not wanting to waste money, I wore a vinyl glove just incase. You can find these for free at a few petrol stations. Bulbs - You will need your replacement bulbs for both sidelight and main beam. Sidelight bulbs: W5W 501 Mainbeam: H4 For my SV I decided on Superlux LED's for sidelights as recommended in a thread on this forum 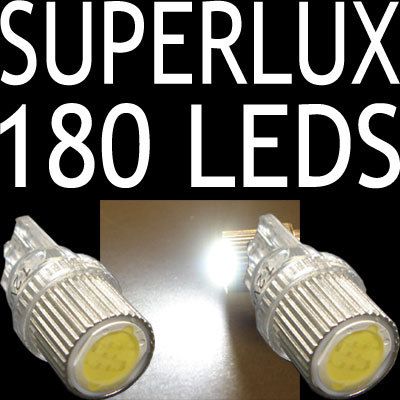 Avaliable on ebay and elsewhere by searching for "180 LED W5W 501". Just ensure you buy white bulbs as opposed to other colours ... to keep it legal For my main beam bulb, I chose Osram Night Breakers 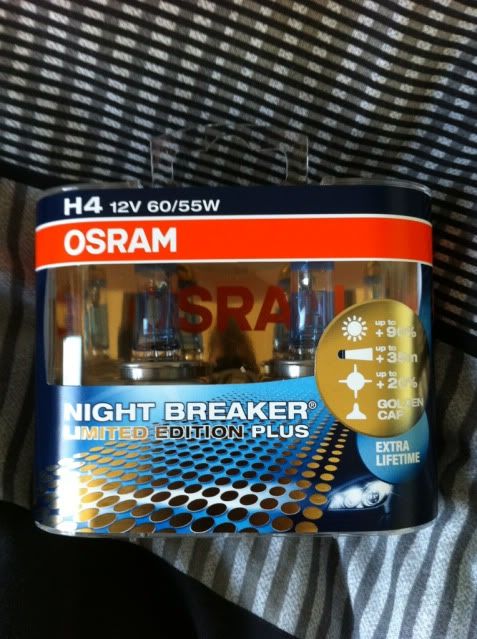 Philips offer a similar performance bulb, rated highly in motorbike review magazines. However the Osram's are cheaper and having solely using Philips bulbs in my car, I thought nothing wrong with a little variation. A Screwdriver - The screws holding the side panels onto the fairing wont require alot of persuasion to come out. Just hold onto the screws, they are very easy to lose Sidelights I unfortunately already changed my sidelights over before doing this guide. However these are extremely easy to swap out, but I will demonstrate how to remove the bulb holder so you can at least be familiar with the layout. 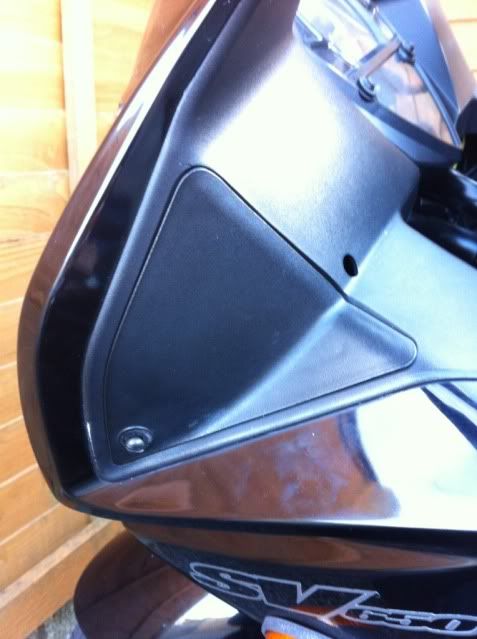 Unscrew the single screw on the lower section of the panel & it will simple flip out. There is nothing else securing this panel in place other than this single screw. Hopefully you can then locate the rear of the sidelight Here's a hint 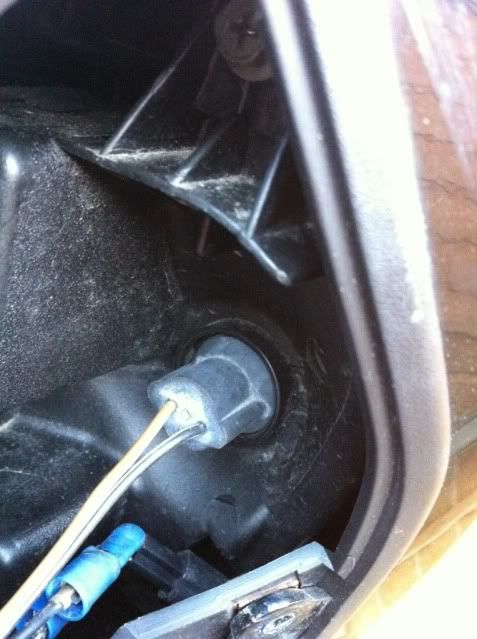 Holding the bulb holder with one hand, a small twist clockwise or anti-clockwise while lightly pulling the the bulb away from the headlight case will release the bulb holder. Common scene, don't pull it by the wires  Once out you'll have something that looks like this 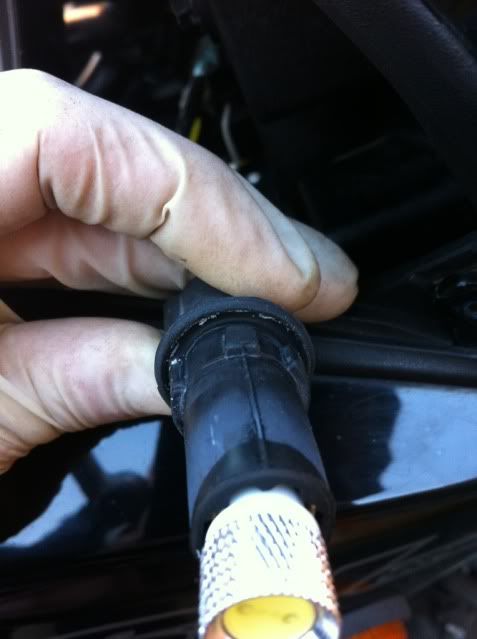 Notice the raised sections on the edge of the bulb, that is why you needed to twist and pull to release the bulb holder. They slot into the gaps in the headlight casing 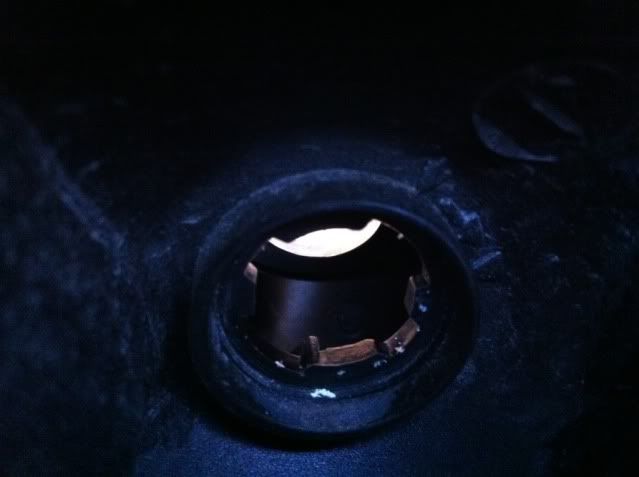 That's it, your original bulb will simply pull out and your replacment will slot back in. These bulbs do only go in ONE way, so don't force them in or you'll be doing these all over again. If you've done this right, you'll have your lights looking like this 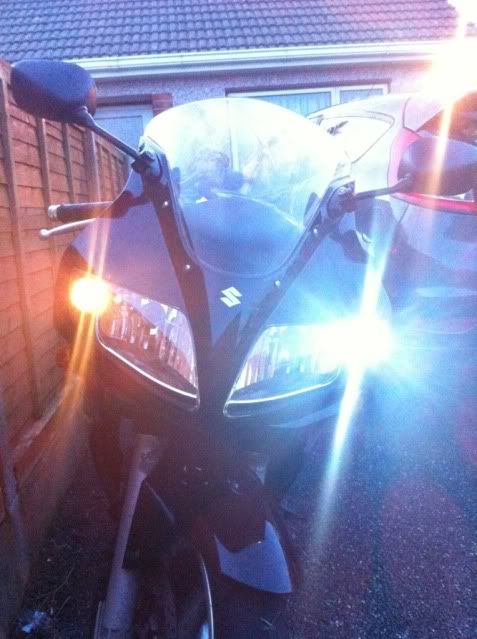 (It was getting dark  ) )Now rinse and repeat and you'll have both your sidelights upgraded   Main Beam Now for the main event, changing this bulb can get very fiddly unnecessarily. So if you find yourself stuck or not being able to progress, skip forward a few steps. I've provided as many photos as I can to help you see how to remove the bulb holder, so you may find it easier to understand once it's removed. Or use your Suzuki X-ray vision to see why the bloody thing wont come out So firstly locate the back of the bulb holder, easily identifiable by the rubber casing 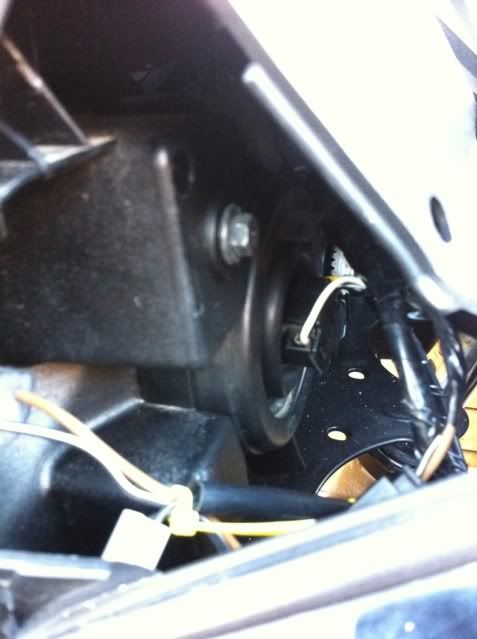 (Zoom) 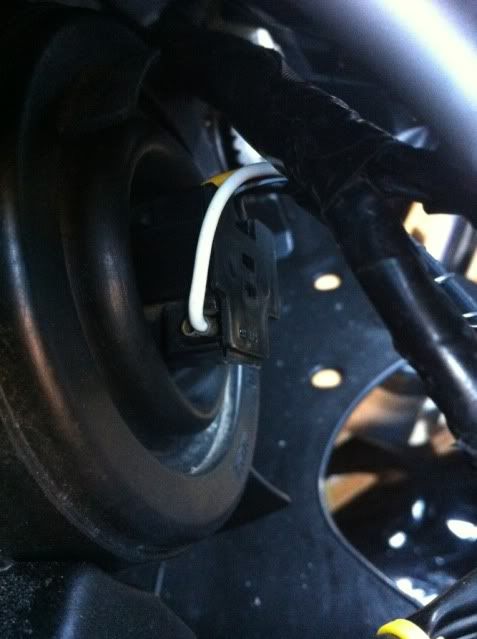 THIS is the hardest part, so any input from more experience members would be greatly appreciated. To get the ball rolling you need to disconnect the bulb from the wiring/plug. The best method I've found, is to hold the plug (rear of the bulb you can see with the white wire) as far down as possible & grip with thumb and finger. Then while pulling, wiggle the plug up and down, left to right. The plug will be stiff so use reasonable force, yet you can cause damage by giving it everything If you cannot persuade the plug to come free, skip the step and try to remove the rubber cap. This is awkward but you can (with small hands) pull and push the bulb out of the plug, with the rubber cap still in place. 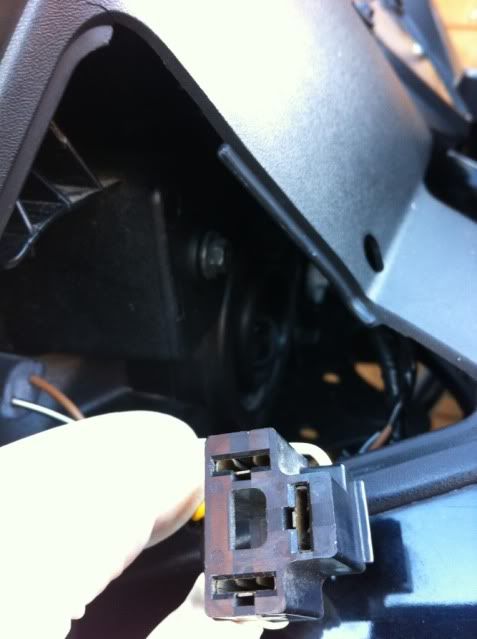 With the plug free ... You did that right? Ok, you'll be left with just the rubber capping stopping you getting to the bulb. 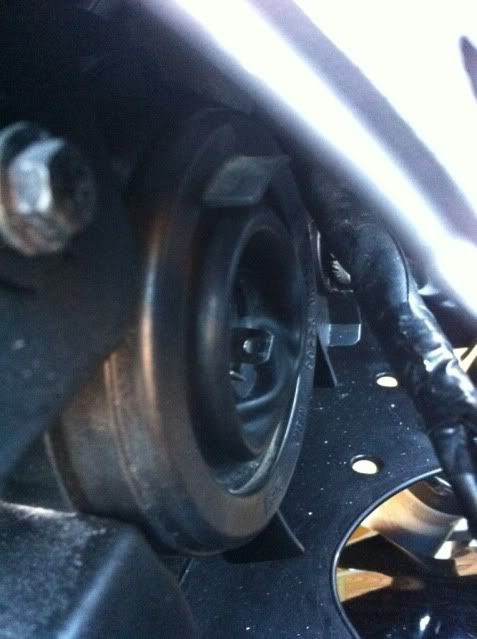 The rubber capping simply peels off, no seal or glue. How you get it off is entirely up to you. my method? I reached up from underneath the fairing and with one hand peeled it off with ease. 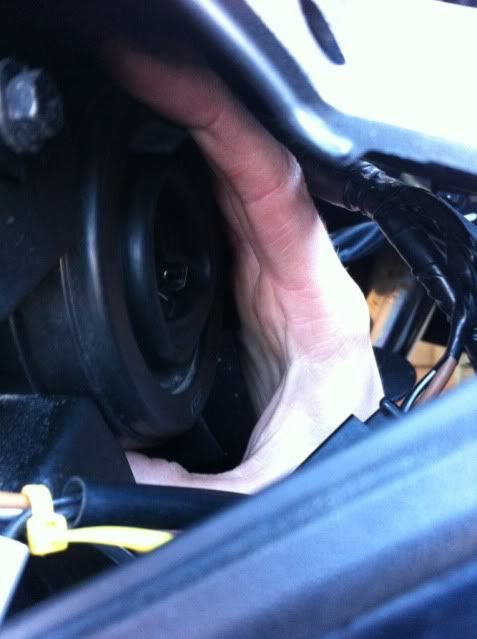 Here is the rubber capping, off the bike 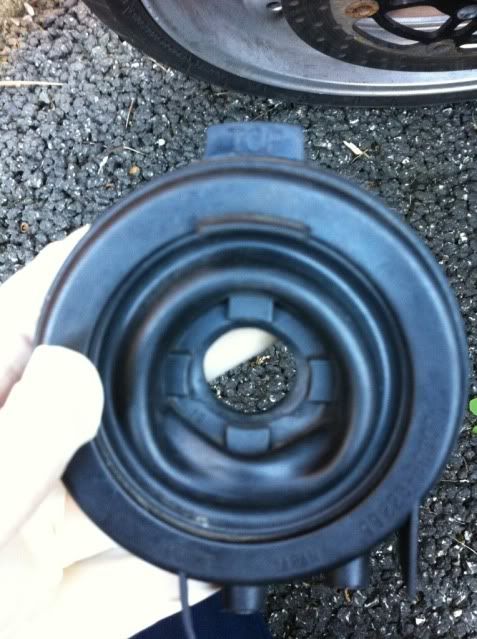 Notice the imprinted "top" on a rubber tab at the top of the capping. Guess why that's there You'll find out later, because for now we can see the bulb 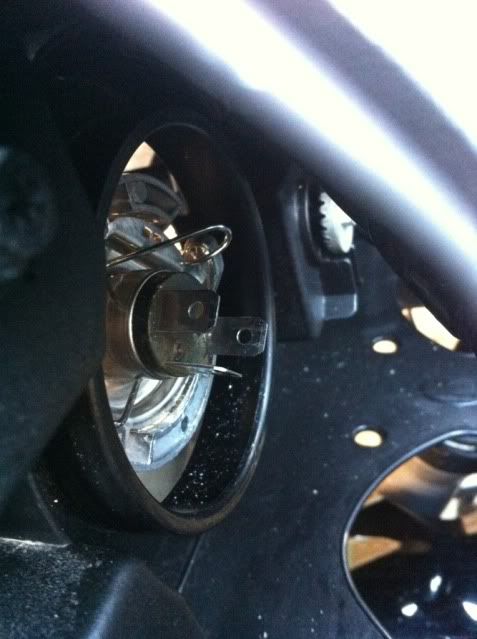 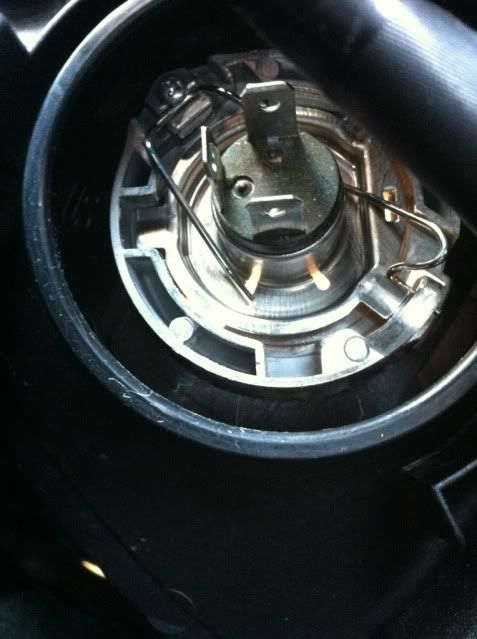 The important piece to notice, is the small metal clip running from the screw all the way to the opposing side of the bulb. The smaller leg of that clip does not matter as much, for the most part it keeps out of the way. Unless you try to remove the rubber capping without unplugging the bulb first. If you do that, you'll grow to hate that shorter leg Where the longer leg of the clip curves, you'll need to press it down and slide it up (away from the ground). Working much like a gate catch, but under spring pressure. Once free and moved aside, you can grab the bulb by the pin and pull it out. You may need to give it a wiggle to free it from the housing. 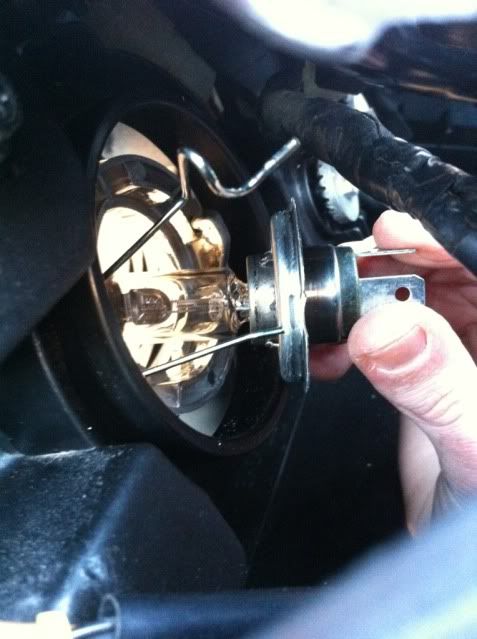 This is what you'll pull the bulb away from, notice the indents and gaps running around the edge. Similar to the sidelight no? 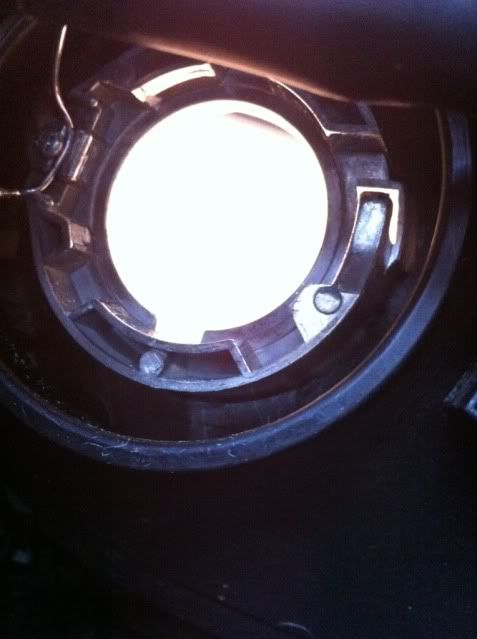 Now you can grab your replacement 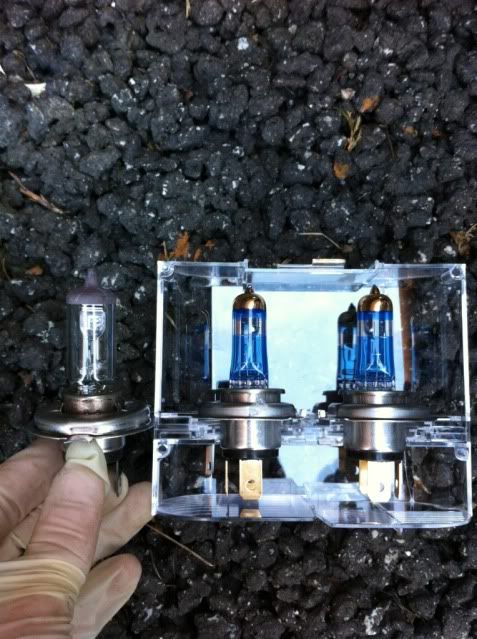 You'll now need to line the bulb up with the housing 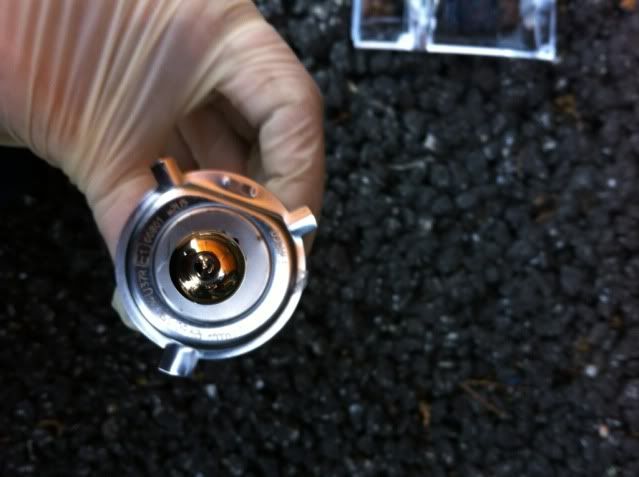 Very easy to do when you can see the legs of the bulb and the indents on the housing separately. The legs on the outer ring of the bulb should lock into place with those indents in the housing. It will only fit in one way and even if you somehow manage to convince yourself you've got it postioned when infact it's not, looking at the bulb from the front will give you clear indication if it's right. 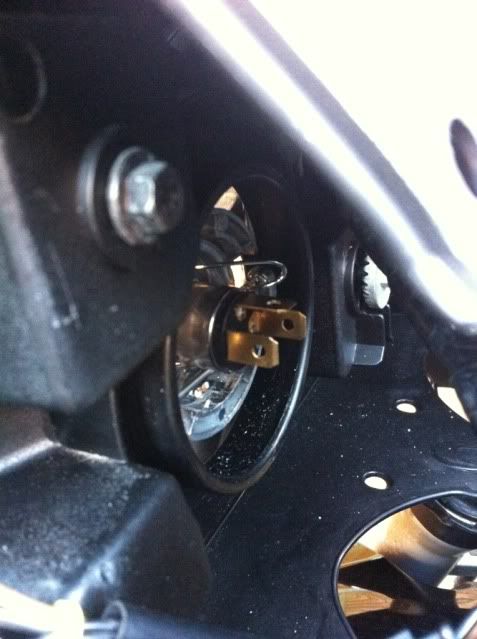 With the bulb in position, pull the catch over the bulb and push it under the catch to secure the bulb. Your practically done Replace the rubbing cap, keeping in mind the "top" indicator tab. Spend some time making sure the edges of the cap is flush with the front of the bike. This is your waterproofing after all, something you don't want to regret missing out. Now put the plug back over the pins of the bulb and firmly press it into place 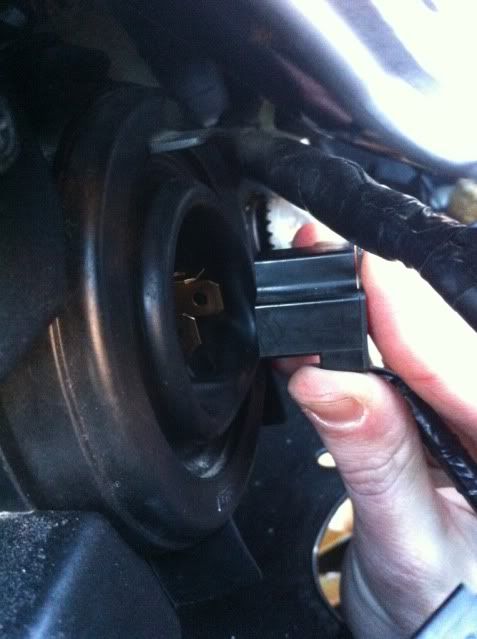 You're half way there  The finished product 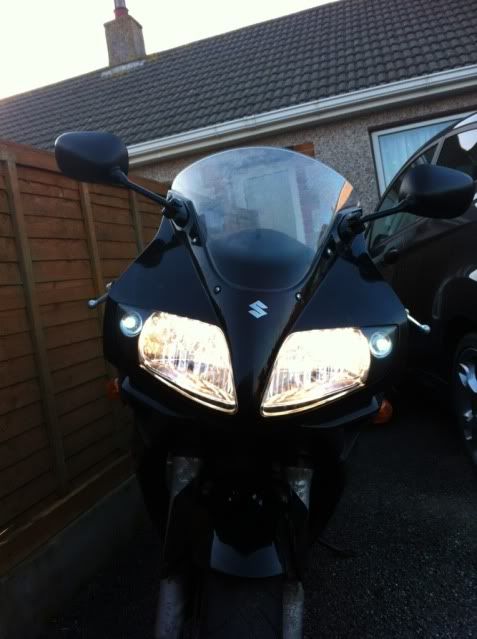 All photos taken using an iPhone, so the photos do not do the light intensity justice. The new bulbs fill the lens, giving out a crisp white light. Visually a huge improvement and I've no doubt they will increase the visible range during night rides No they are not HID's nor will I be projecting a Bat Symbol anytime soon, but this is a very simple and beneficial mod. I Hope someone finds this of use |

|
|
19-02-13, 01:13 PM
|
#2 |
|
Member
Mega Poster
Join Date: Jan 2007
Location: Plymouth, England
Posts: 3,787
|
Now someone needs to find out which LED side lights are the same colour as the Nightbreakers so I can do the swap myself as I can't handle different colour lights!
__________________
Phil I'm not here for a long time, I'm here for a good time! Blue SV650 K3, GSX-R K5 front end, TL1000S clip-ons, lower fairings, seat cowl, gel seat, Pyramid undertray, R&G crash bungs, stainless steel bar ends, full titanium Akrapovic exhaust, Power Commander, clear rear light, flush mount front indys, mini rear indys, Autocom 300 duo intercom, Acumen cat 1 alarm and Micheline Pilot Power 2ct's. |

|
|
|
25-05-14, 06:35 PM
|
#3 |
|
Member
Join Date: Sep 2009
Location: Oxford
Posts: 192
|
Thumbs up to rogue shadow - This really was a great post. I am clueless on mechanics so Thank you - 20 minutes and both bulbs were done.
|
|
|
|
|
25-05-14, 07:09 PM
|
#4 |
|
Member
Join Date: Mar 2013
Location: Aberdeenshire
Posts: 966
|
Why do they put blue colouring on the headlamp bulbs?
|
|
|
|
|
25-05-14, 10:01 PM
|
#5 |
|
Guest
Posts: n/a
|
Nice one bud. Still looking for a powerful enough led which will fit the curvey side light they all seem too dim.
I put knight breaker ultimate in my dip main and they seem to work a treat much better than stock. Pay off is they won't last as long but having used Phillips in projector beam cars very dissspointrd with them mrs has osram in her car and they are supe, short of illegal HID kits which are obviously better for overall light out put. Last edited by Moleman; 25-05-14 at 10:05 PM. |
|
|
|
25-05-14, 10:04 PM
|
#6 |
|
Guest
Posts: n/a
|
Sorry getting tap happy on the mobile! Big chub fingers little keys bad combo
Last edited by Moleman; 25-05-14 at 10:07 PM. |
|
|
|
02-06-14, 08:01 PM
|
#7 |
|
Member
Join Date: Feb 2014
Posts: 61
|
changed sidelights in about 5 minutes this morning. Look much better
|
|
|
|
|
08-06-14, 04:00 PM
|
#8 |
|
Guest
Posts: n/a
|
Cheers for the recommendation of the sidelights, looks great with the LEDs in!
|
|
|
|
09-06-14, 04:11 PM
|
#9 |
|
Member
Join Date: Feb 2014
Posts: 61
|
Will be looking to change headlights soon too; headlights compared to LED sidelights look horrible and yellow and dull
|
|
|
|
|
|
|
 Similar Threads
|
||||
| Thread | Thread Starter | Forum | Replies | Last Post |
| Main Beam Culture | Fallout | Idle Banter | 22 | 30-07-12 11:30 AM |
| Can Pointy sidelights be turned off with a switch? | Dave_es94 | SV Talk, Tuning & Tweaking | 15 | 16-05-12 07:12 PM |
| Main Beam problem | leegriffiths128 | SV Talk, Tuning & Tweaking | 6 | 28-10-11 07:41 PM |
| Headlamp dip beam failed - Pointy. | dazzadams | Bikes - Talk & Issues | 11 | 27-09-10 04:26 PM |
| What Headlight bulb for the 01 SV650S? | triehl27 | SV Talk, Tuning & Tweaking | 2 | 22-09-04 09:25 PM |
