There is no replacement for displacement.
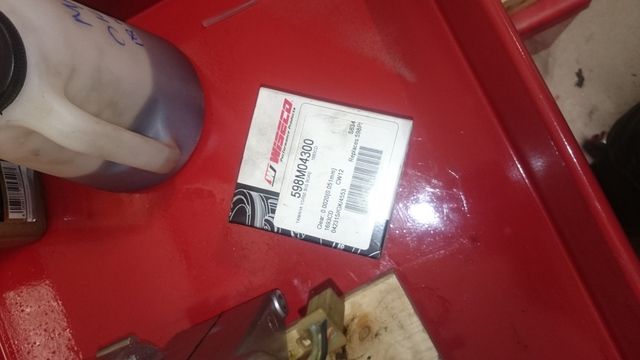
And as the aim a 500GP I feel I might need a little increase over the original 50cc. Swapping the engine for something bigger had crossed my mind but at this point I think its obvious I'm not taking that route. I did think about converting to the YSR80 engine, but I want to stay true to the bikes roots but all the while increasing the power.
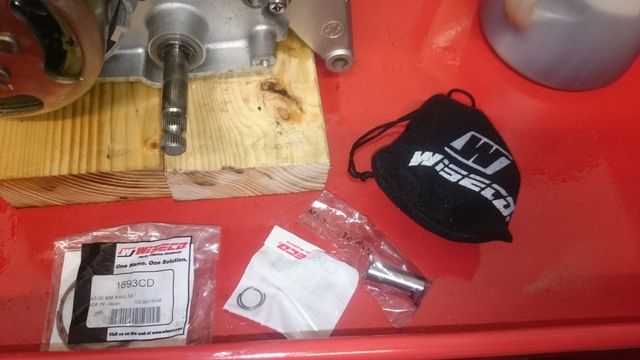
So Wiseco have supplied me with a nice little bag that contains a 57cc piston. And while Piston Broke was rebuilding my crank I got him to rebore the cylinder to match.
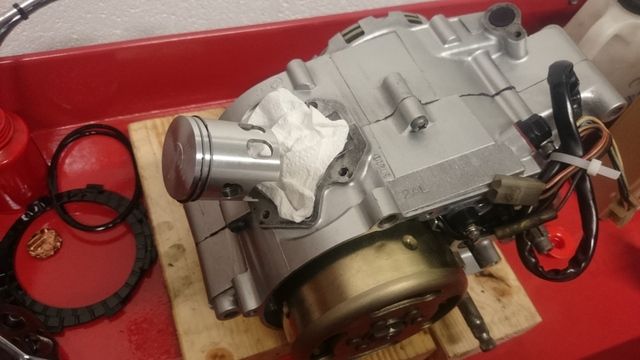
I actually forgot to take a side by side comparison of the pistons, but lets just say the new one looks pretty. Getting the rings in and the circlips on for some reason was tougher than the last time I did this. But once they were on the piston was given a nice coat of oil as was the bearings before and after installation.
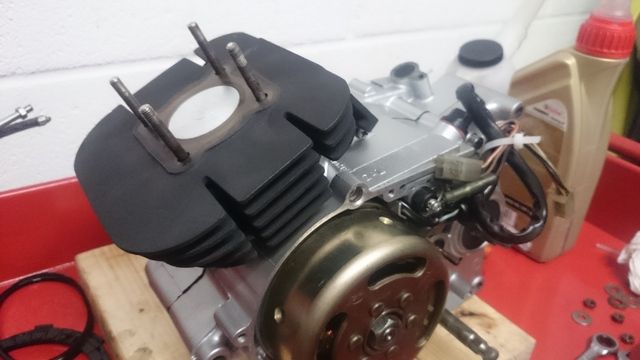
The barrel has been painted with Halfords VHT Cylinder Black and baked in the oven.
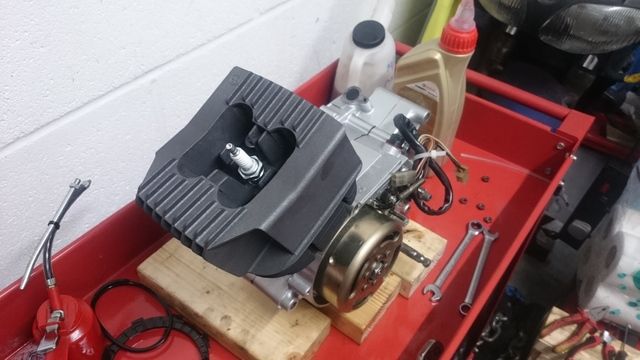
The studs were the originals. I wanted to replace them as they had a little surface rust on them and one stuck nut but Yamaha no longer have them available. Thankfully the addition of heat freed the nut off and running a die over the thread tided them up.
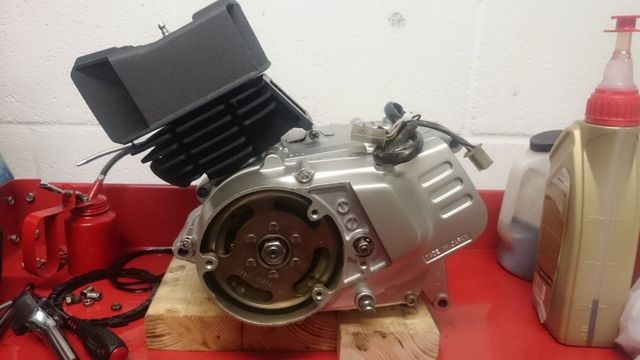
The head was then painted with Halfords VHT Silver baked and installed with along with a new spark plug. The sprocket cover with a regreased clutch lifter was installed along with the alternator cover.
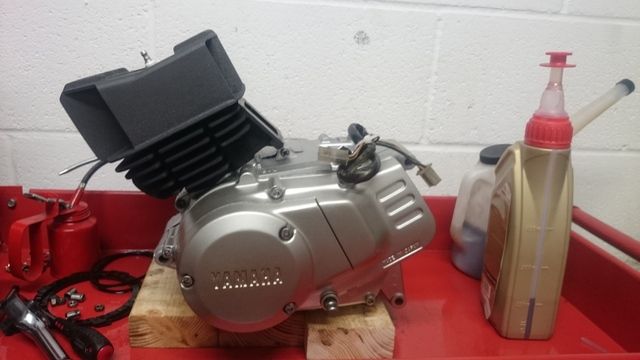
This will obviously come back off later during the install to get the clutch cable in there, but its nice to see it together and takes up less space in the garage.
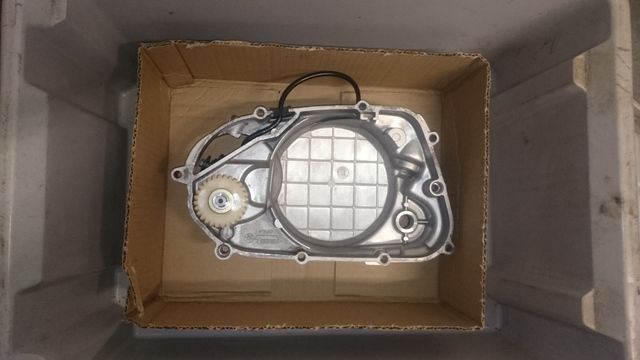
The clutch cover had a new seals and the oil pump added.
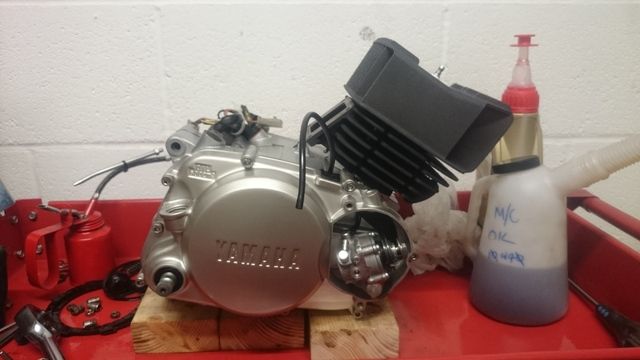
The cover then went onto the engine. You might notice that the covers are a slightly different shade of aluminium to the crankcases, and your right they are even though they have been painted with the same paint. Can't explain that one, but I don't mind I think it adds to it.
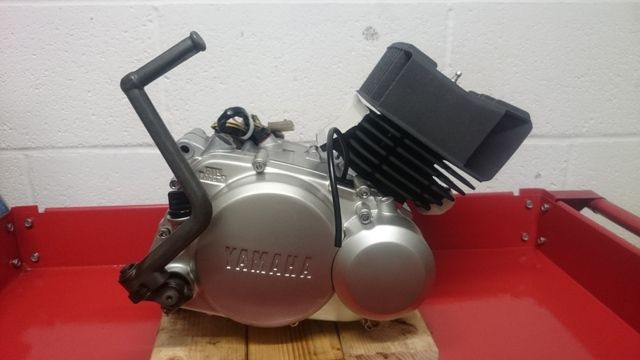
Finally the oil pump cover and the kickstart completes it.
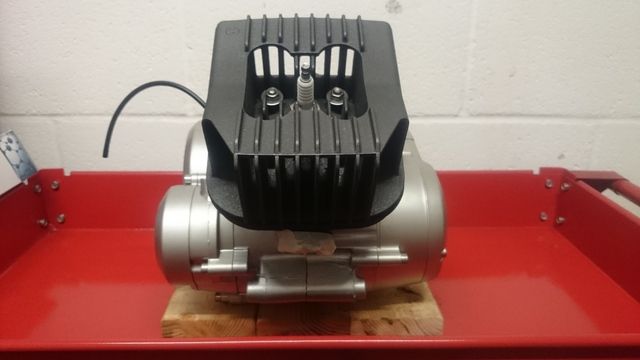
And that completes the engine build. This is also one of my favourite pictures of the engine, it has so much character to it. I've sealed up the engine to stop anything getting in there while my attention turns to the frame...