 |
 |
 23-01-14, 07:17 PM
|
#231 | |
|
Member
Mega Poster

Join Date: Apr 2005
Location: Sunny Swindon
Posts: 3,579
|
Quote:
|
|

|

|
|
23-01-14, 08:36 PM
|
#232 |
|
Member
Mega Poster

Join Date: Mar 2007
Posts: 9,097
|
You might find this one of these might come in handy in the future SH
https://www.aldi.co.uk/en/specialbuy...sonic-cleaner/
__________________
We're riding out tonight to case the promised land Make everyday count RIP Reeder - Jolly Green Giant and comedy genius |
|
|
|
|
23-01-14, 09:00 PM
|
#233 |
|
Member
Mega Poster
Join Date: Apr 2005
Location: Sunny Swindon
Posts: 3,579
|
I've seen those before, but I don't think it will really be big enough to take a carb body. The smaller industrial ones are what I think I'd need size wise. They are £80-100 plus the cost of the fluid, so as much as I would like my own due to the amount of use it would get the £40 it cost to get these cleaned is ok with me. But if I do more I might have a look at getting my own...
|
|
|
|
|
23-01-14, 09:13 PM
|
#234 |
|
Member
Mega Poster
Join Date: Mar 2007
Posts: 9,097
|
Aye, I've got one, its probably not big enough for your needs
__________________
We're riding out tonight to case the promised land Make everyday count RIP Reeder - Jolly Green Giant and comedy genius |
|
|
|
|
02-02-14, 12:46 AM
|
#235 |
|
Member
Mega Poster
Join Date: Apr 2005
Location: Sunny Swindon
Posts: 3,579
|
More work has been done...
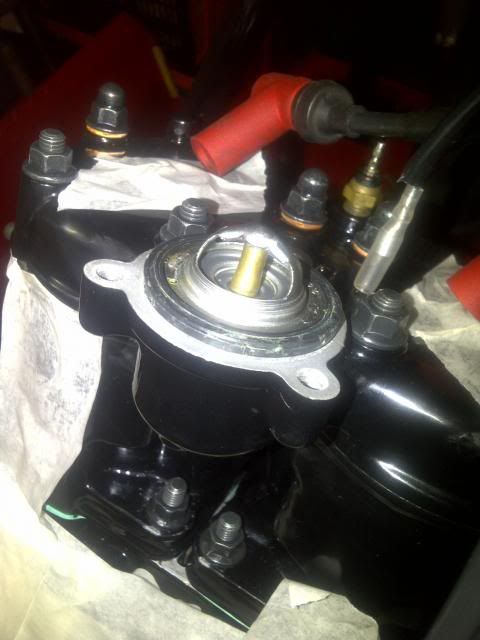 Firstly the Thermostat was cleaned and placed into the head. 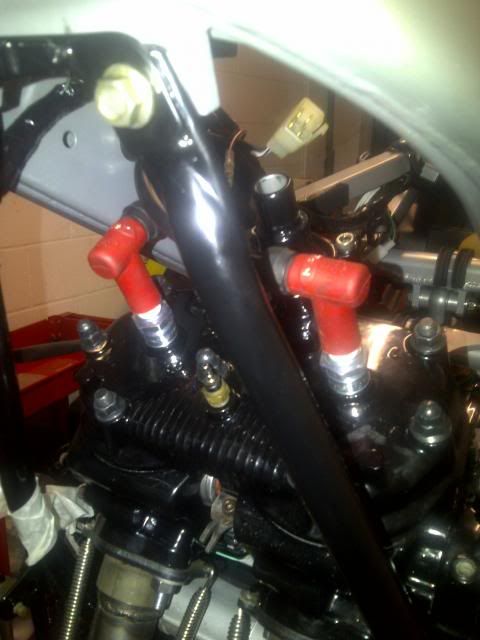 This enabled me to put the cover or Thermostat housing on with some new ally cap head bolts I happened to discover in the garage. A new set of NGK plugs went in and the were connected up, I even checked the spark gaps which were spot on. 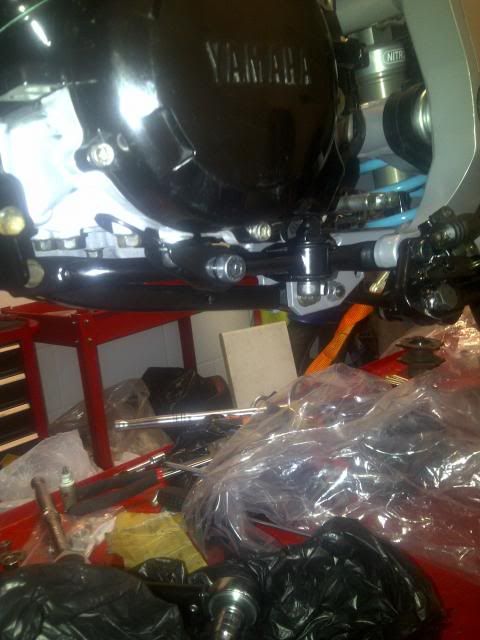 I also tightened up all the engine mounting points once I received the last remaining parts I needed for the balance bar. Basically I'd muddled up a couple of bolts and confused myself. Plus the addition of the nut that I replaced when I accidently removed the welded one having a different pitch didn't help. Anyway most of these mounting points required some thread lock and a nice amount of torque so hopefully they wont be going anywhere. 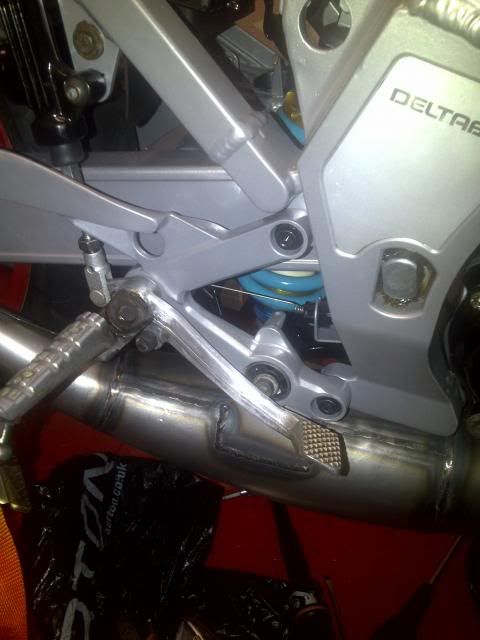 I also built the right foot peg up and mounted that. I was able to reuse the brake lever as it was undamaged, just needed a going over with some Autosol and a bit of wet and dry to remove some odd yellow covering that reminded me of dried brake fluid. 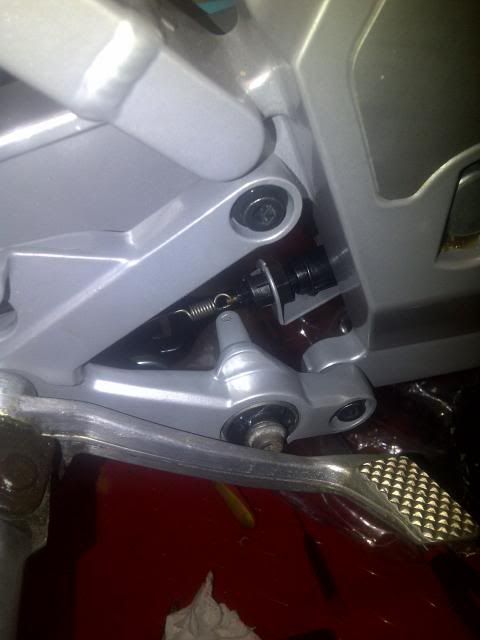 At the same time I put the brake switch in (on the second attempt, thankfully I had a reference picture as I was way out on length for adjustment). But I have no idea what the little tab and hole is for which can be seen directly in line with the exhaust bolt and the end of the switch? 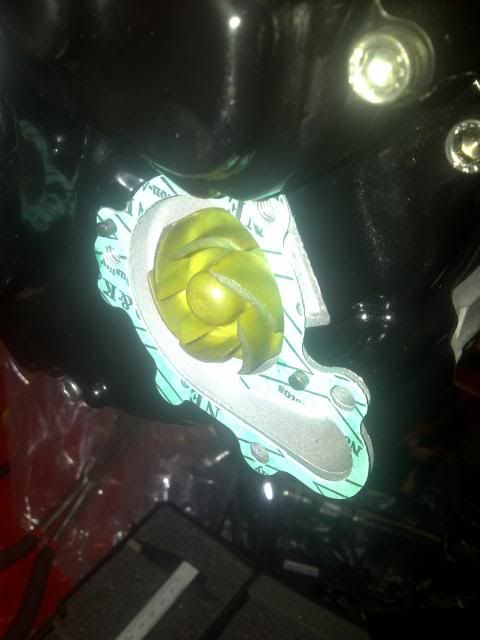 I have managed to misplace the coolant drain bolt and a couple of the water pump cover bolts, but my local bolt supplier had some of the right design and pitch but the wrong length. So I cut them down. Interestingly I tried ordering a replacement drain bolt from Yamaha but the one I ended up with was the wrong size, I think they may have changed part numbers over the years and some of the detail has been lost. Anyway a new cover gasket. 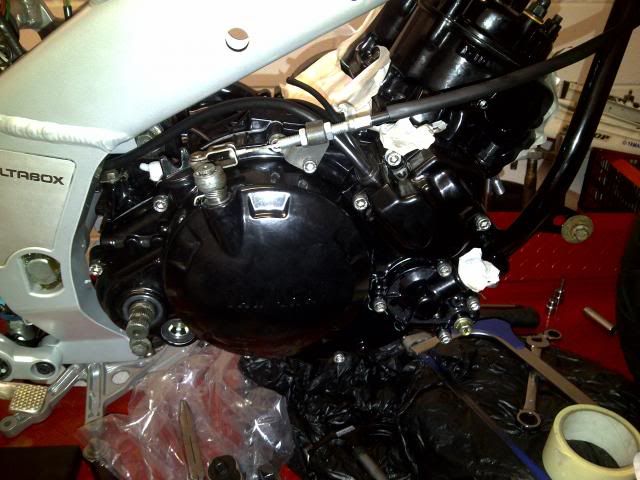 This enabled me to put the cover on and finish up on the clutch cover once I put a new Yambits clutch cable in. |
|
|
|
|
02-02-14, 01:07 AM
|
#236 |
|
Member
Mega Poster
Join Date: Apr 2005
Location: Sunny Swindon
Posts: 3,579
|
Some of you may remember the problem that I had with the front brake caliper, basically after rebuilding it I manage to strip the nipple bolt thread. Had it helicoiled but discovered it was leaking. So I needed to replace the caliper. Luckily I had a spare that I ended up with when I bought a replacement spindle. Unfortunately it was rather seized. After managing to get 2 of the pistons out I was stuck with the remaining 2 on the other side and to avoid a fit of rage I put the caliper to one side.
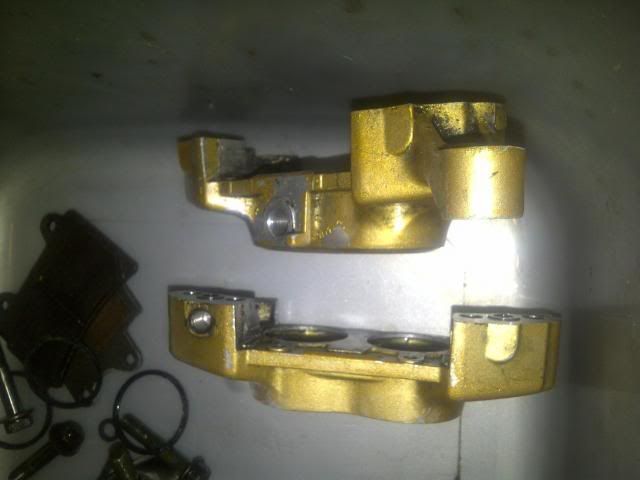 The trouble here was that there was still a little brake fluid in the caliper that I hadn't noticed and it leaked out. Coupled with the general chips from use, it wasn't something I was happy to put back on the bike. A check of eBay presented me with a number of similar looking replacement options. So I came up with the idea of repainting it myself. 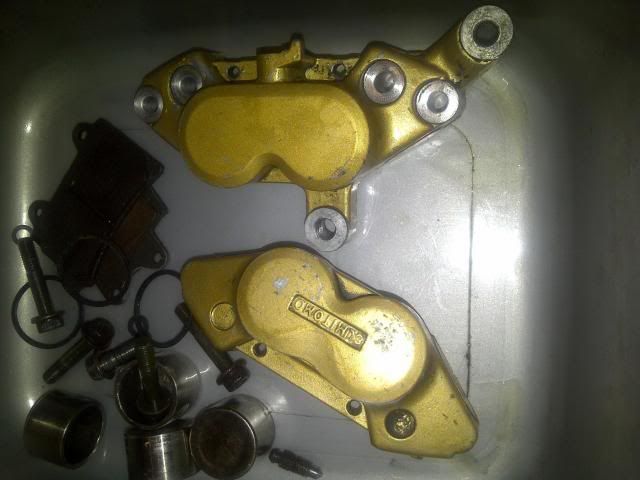 Another search of eBay gave me some VHT caliper paint in gold. And thus a can was ordered. But I needed to remove the old paint first. And so a cunning plan was formed, brake fluid strips paint, I have some old brake fluid... 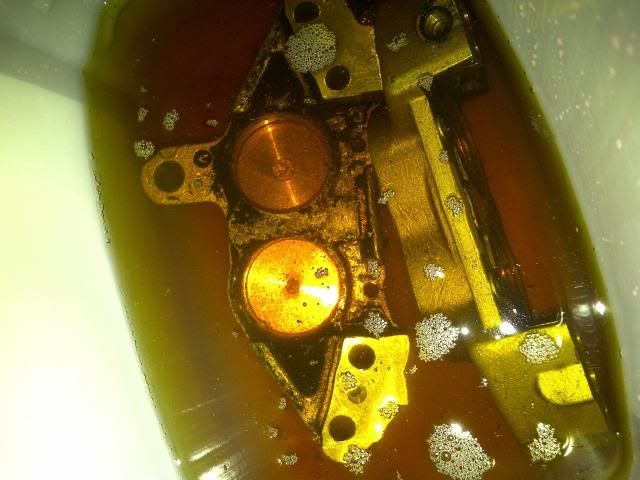 And so the caliper was left to soak in some old fluid for a few days. If I'm honest I was slightly disappointed with the results. Yes the paint was lifted in some areas but not all and it was still very much on there. But the fluid had weakened it, or that's the best way I can describe it. The paint is very soft and with a little scratching from a pick and some wet and dry I have made a good impact on it with little effort. 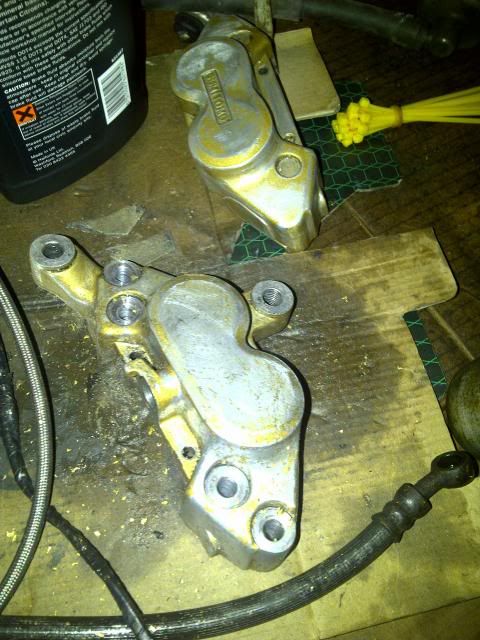 The caliper is back in the fluid now. I'll have another go in a few days. Hopefully the remaining paint will be softened enough by then that it will come off with a little more light sanding. Then it will be a good wash and clean up before I give it a go with the paint. |
|
|
|
|
02-02-14, 01:34 AM
|
#237 |
|
Member
Mega Poster
Join Date: Apr 2005
Location: Sunny Swindon
Posts: 3,579
|
I've been doing a couple of other things, but have spent a lot of time waiting for some parts that finally arrived this week. But first now I have built the carbs, its time to connect them to something. Some thing like...
 A new set of throttle cables.  And a new pair of powervalve cables.  So I connected them all up with the powervalve servo and the carbs ready to fit to the bike. 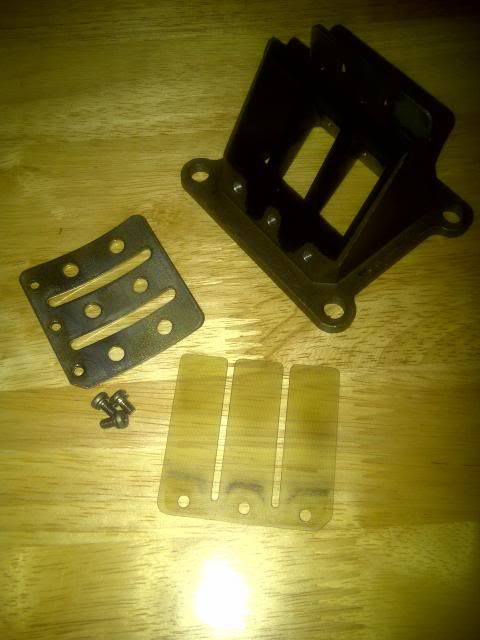 The reed valves were stripped and cleaned. And after careful consideration I have decided to stick with the standard and original reeds. 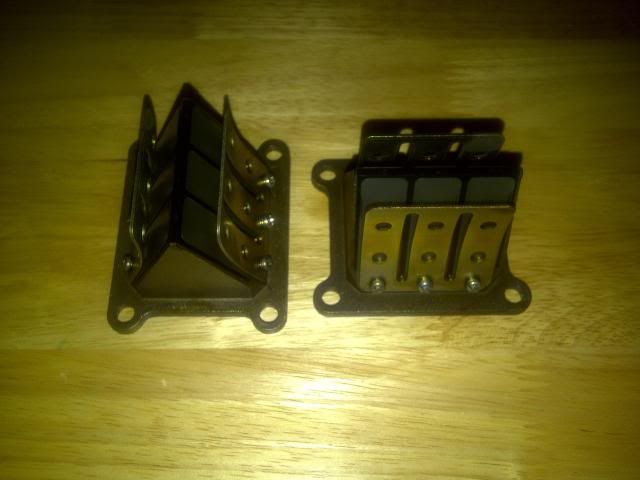 So the blocks were built. The only bit I needed was the intake rubbers. The originals were cracked. The first set of replacements were split on the balance tube mount but wasn't obvious and the second set of replacements had the oil intakes removed for reasons unknown to me. 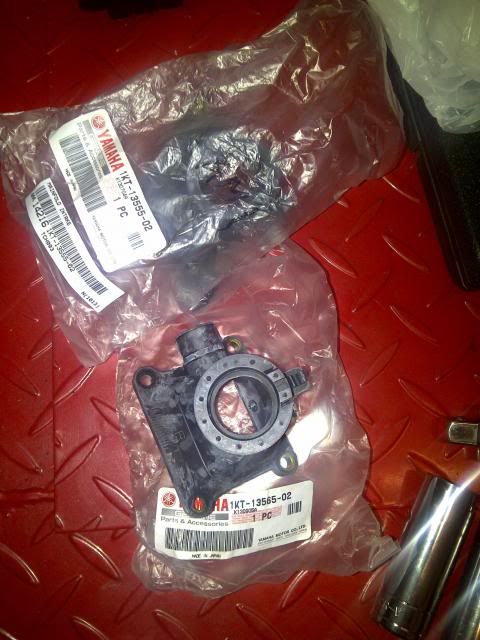 Now Yamaha still have these intakes for sale, but they are far from cheap. But after a couple of weeks wait a pair arrived for me from Malaysia via eBay. Not cheap, but I got the pair for roughly the same price as one. 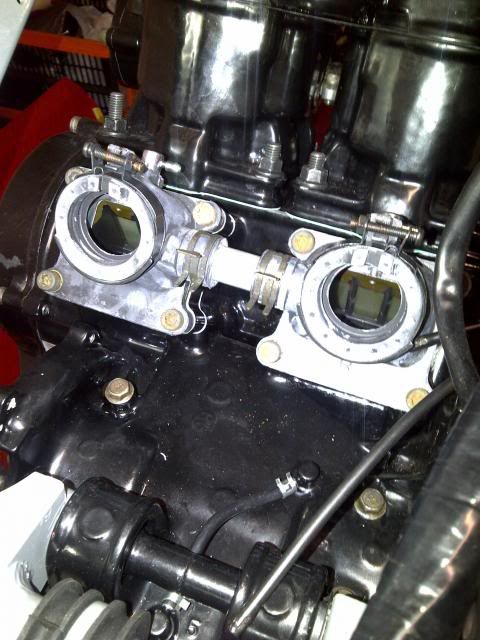 And so I fitted the reed blocks, spacers, gaskets, and inlet rubbers to the engine. The bolts are the originals and will be replaced so there are not torqued up. I thought I had replacements but not so. Will be in my local bolt shop on Monday, I have a feeling though that I will be cutting a few bolts down to length. |
|
|
|
|
02-02-14, 02:07 AM
|
#238 |
|
Member
Mega Poster
Join Date: Apr 2005
Location: Sunny Swindon
Posts: 3,579
|
With the intakes on it would be rude not to fit the carbs now wouldn't it?
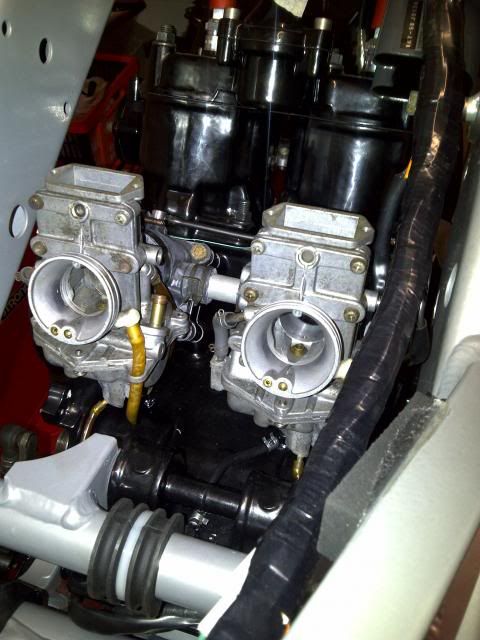 So I did. 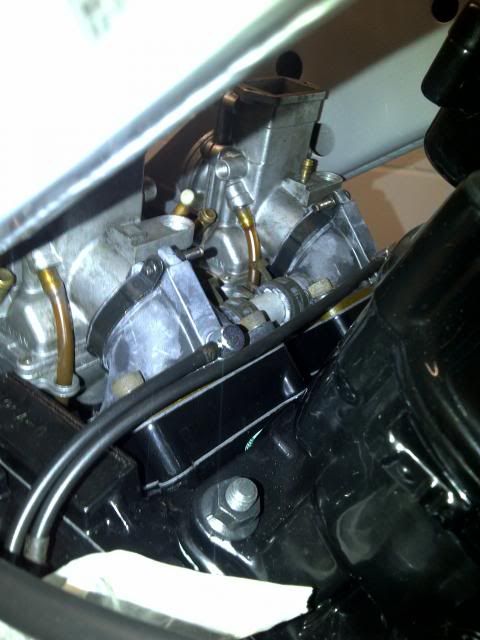 New clamps from Yambits to hold the carbs on. Plugged in the oil feed tubes, and discovered some damage to the ends of them that I didn't spot when I dismantled them. Will have to see what can be done about that later. 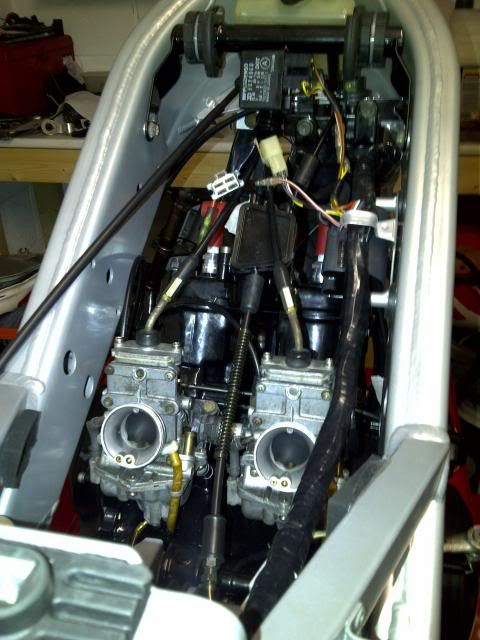 Next was to put the cables and servo on. In the picture above the throttle cables are not routed quite right, but it gives you some idea of the first attempt. I don't have a good picture of the correct (or at least what I'm going with) routing at the moment. 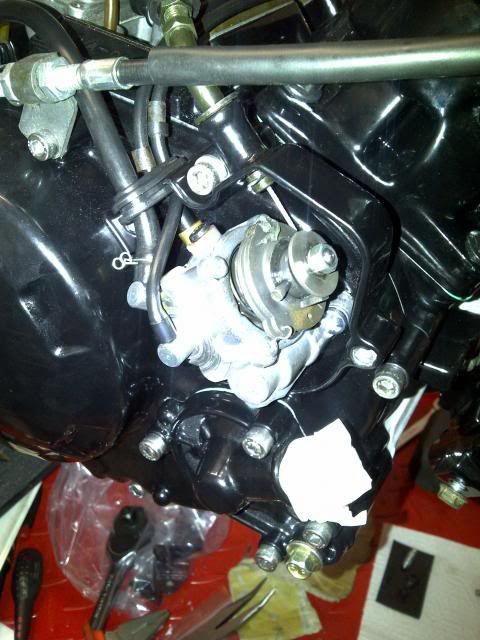 The oil pump was hooked up. Needed to tap the cable hole as the some powdercoat had closed it up at the end but it wasn't to difficult. 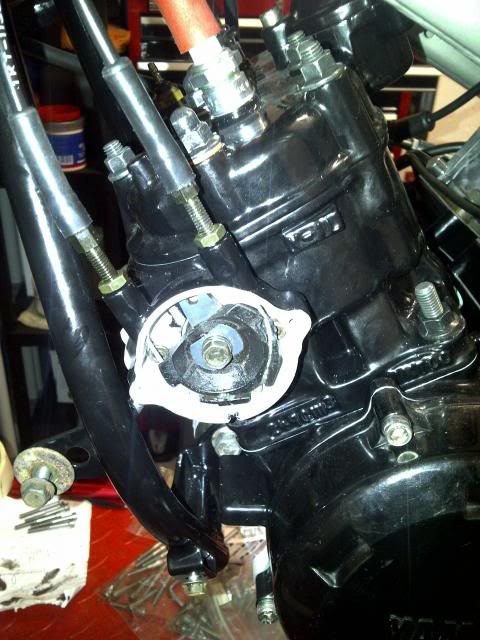 And the powervalve cables were connected. All the cabling needs proper setting up, but for now all I'm interested in is getting the routing right and the bits on the bike.  A new twist grip and switch gear has been sourced as the originals were well used. 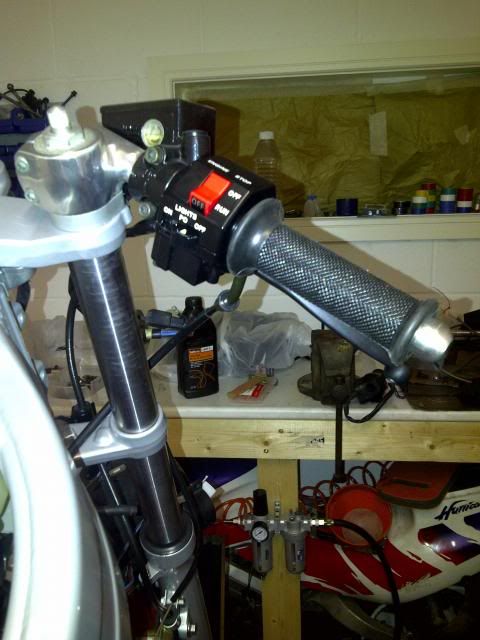 With them on the bike I could attach the throttle cable. And already there is a good turn and snap back action. 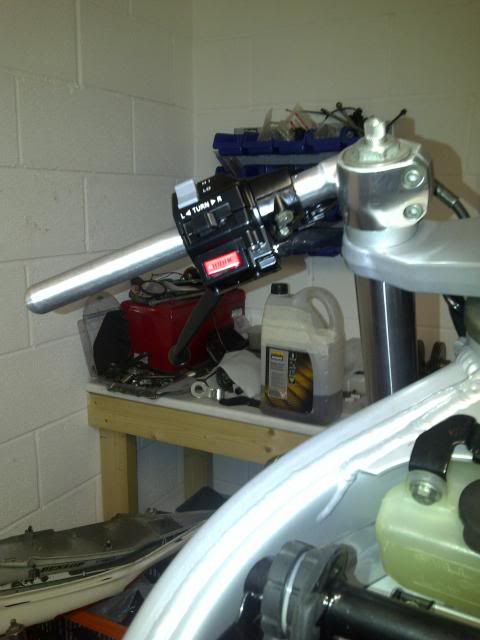 I've also done the same to the left. New switch, lever and clutch mount, with the cable attached. Again I'm getting a good action at the lever, but I know it needs proper adjustment and positioning. 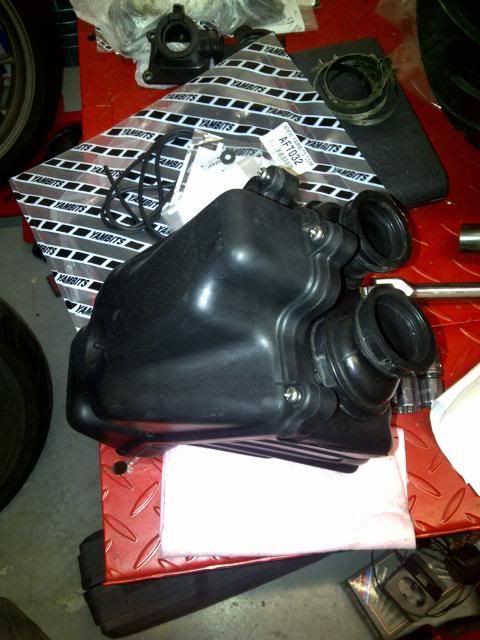 The original airbox has been cleaned up and polished to bring the nice black colour back to it. I also have a new filter and sealing rubber. But there was no rubber originally and a test fitting did not go well. Might have another go later. 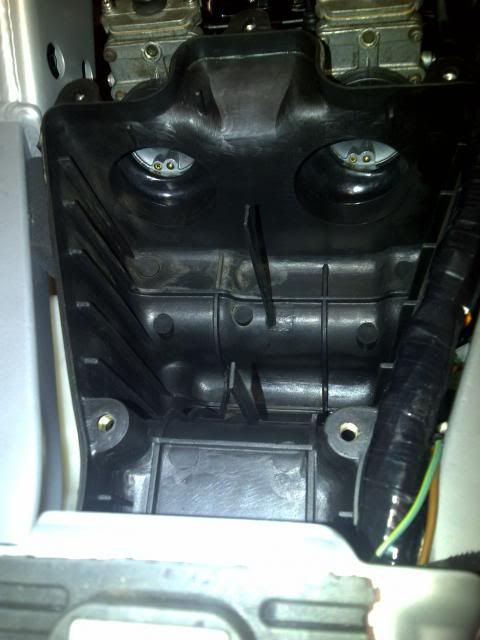 But for now the airbox is on. I think I have the rubber tubes in correctly, though I do need some replacement clamps for the rubber to carb mount. 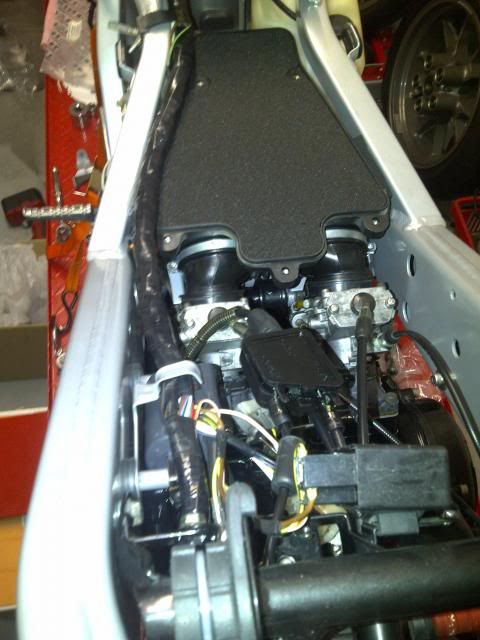 I've not oiled the filter yet as I will need to remove the box and carbs for mounting bolt replacement and new clamps. But this photo does have the correct routing of the cables. 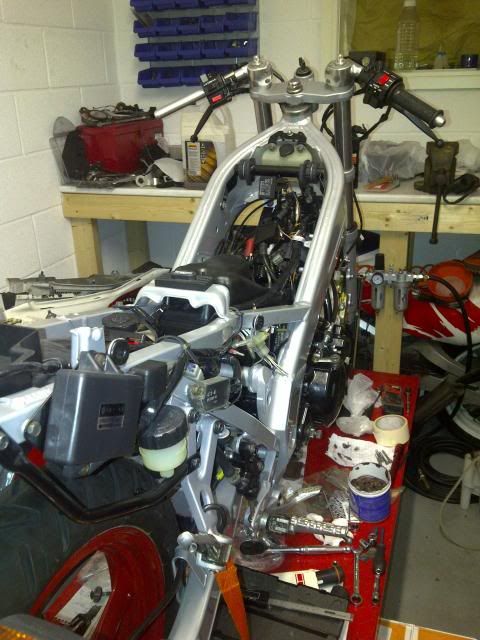 And with the airbox lid on, the bike looks a lot closer to being ridden. But it is still a little way off, the exhausts for example are not actually on the bike at the moment... |
|
|
|
|
02-02-14, 09:22 AM
|
#239 |
|
Member
Mega Poster

Join Date: Aug 2003
Location: Croydonia
Posts: 5,376
|
Really good to see this coming along!
Jambo Sent without a real keyboard
__________________
Modern motorcycles are bloody brilliant, enjoy it while we can |
|
|
|
|
02-02-14, 05:16 PM
|
#240 |
|
Member
Mega Poster

Join Date: Mar 2010
Location: Mid Wales
Posts: 2,677
|
Looking very good, you've been busy!
|
|
|
|
 |
|
|
 Similar Threads
|
||||
| Thread | Thread Starter | Forum | Replies | Last Post |
| Garage can't find paint colour for the SV | Fifteen15 | SV Talk, Tuning & Tweaking | 21 | 09-09-11 11:04 PM |
| It's amazing what you find in your garage | dirtydog | Photos | 20 | 07-05-10 08:52 AM |
| Classic Bike find in garage | kwak zzr | Bikes - Talk & Issues | 13 | 13-03-09 06:42 PM |
| Where can I find clutch housing bolts? - Cant find any | mikeSV | SV Talk, Tuning & Tweaking | 2 | 24-03-08 12:30 PM |
| Where can I find a good garage in London | fred | SV Talk, Tuning & Tweaking | 4 | 20-01-06 03:34 PM |

