 |
 |
 14-02-14, 09:11 PM
|
#261 |
|
Guest
Posts: n/a
|
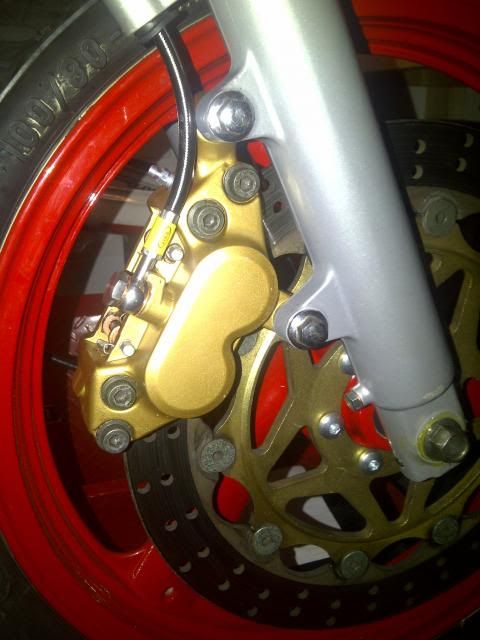
Speaking of brakes, I noticed your front wheel is missing brakes on one side... would an old TZ250 front wheel fit?
I'm sure you'll be riding responsibly and one rotor will be fine, but I'd be bombing up and down mountain roads, grinning insanely and needing more brakes. |

|
|
14-02-14, 09:20 PM
|
#262 |
|
Member
Mega Poster

Join Date: Apr 2005
Location: Sunny Swindon
Posts: 3,579
|
I have seen some modified TZR's with I think Thundercat forks on them. Not sure what other wheels would fit but I'd have to change the fork lowers as well as there are no unused mounting points on the other side. But that's not something I intend to do with this bike as it shouldn't need much to stop the flyweight TZR, after all the riders in the YPM series are quite happy with their single caliper...
|

|
|
|
15-02-14, 09:55 PM
|
#263 |
|
No, I don't lend tools.
Mega Poster

Join Date: Jul 2003
Location: Skunk Works, Nth London
Posts: 8,680
|
When working right, that brake is very good.
__________________
If an SV650 has a flat tyre in the forest and no-one is there to blow it up, how long will it be 'til someone posts that the reg/rec is duff and the world will end unless a CBR unit is fitted? A little bit of knowledge = a dangerous thing. "a deathless anthem of nuclear-strength romantic angst" |
|
|
|
|
21-02-14, 01:03 AM
|
#264 |
|
Member
Mega Poster
Join Date: Apr 2005
Location: Sunny Swindon
Posts: 3,579
|
So I took the pistons from the old caliper and the seals and swapped them over to the freshly painted caliper. Though I could not get one set of dust seals in no matter what I tried, so I ended up ordering replacements that went straight in with no issue whatsoever. Pistons and seals in the caliper half went back together and the pads and pins were installed before I refitted it to the fork and filled the system up.
 I tied the lever back again to help with the air removal and to check the nipple again. Had some rag round it to be sure as this was what confirmed the leak last time. And after 24hrs the inspection reviled the nipple and caliper to be dryer than a nuns excuse me. While I was throwing brake fluid round the garage I thought it was about time I sorted the rear system out and filled that up also. A collection of zip ties to the bench kept the lever on overnight. 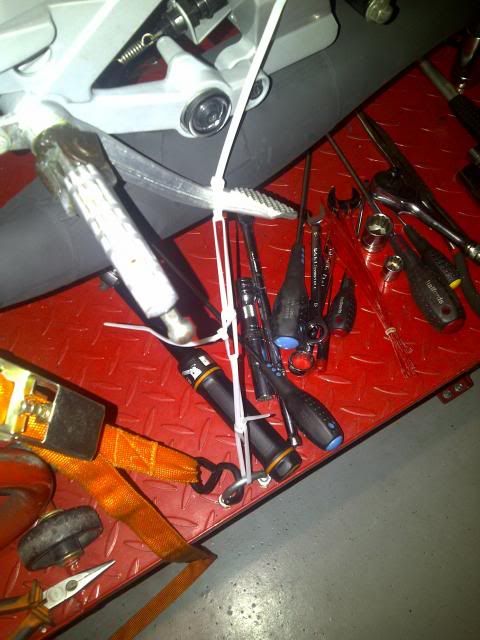 The next update is rather riveting. The chain that is.  The chain came with a split link, but I would rather have a rivet link in there. My local bike shop Artdeans who I order lots of parts through had a rivet link for me. And I get to try out my new chain riveter. 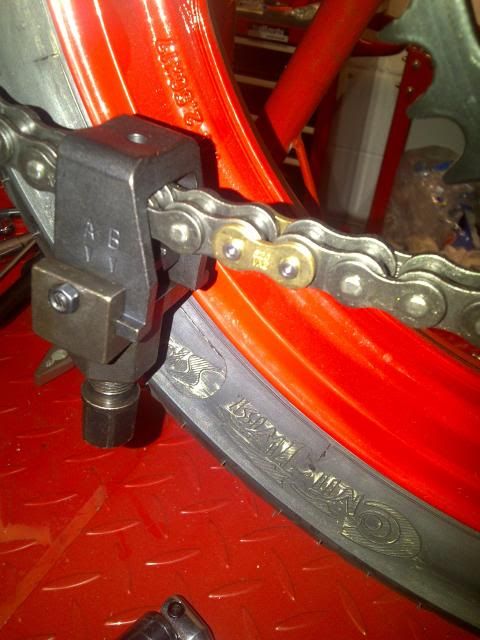 I got a DID type riveter from Yambits. I've used them before but never done it on my own. First step was to press the plate over the pins with the tool plate and the tool set to the A setting. A 27mm spanner holds the main body of the tool and a 19mm socket on a breaker bar does the work of clamping the plate down. 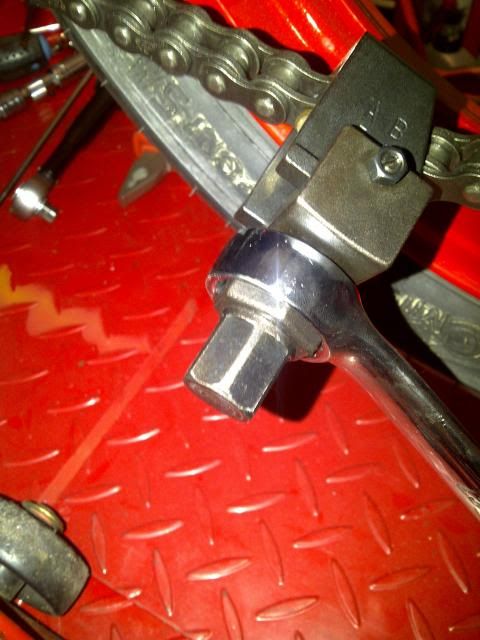 Then with the plate seated the tool is swapped to the B position and the rivet pin used to crush the chains pins. With the tool fully tightened on both pins the chain is riveted. 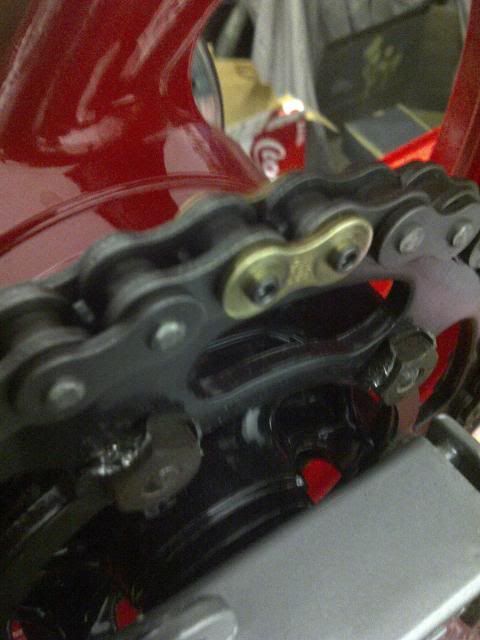 I checked the chain for movement at the link and it all felt fine. The rivet link was from a 520 gold O-ring but used without the O-rings as the rest of the chain is not. The pins are the same length so it all fits. And with the link being gold its easier to see when you've done a full rotation for lubing purposes. The rivet pin in the tool cracked and so I cant take it out at the moment. I do know that these are a consumable but a little disappointed it went on the first go. But I'm not that bothered as I don't need to swap it round for the removal of a link as the only time I need to remove a chain is when its at the end of its life and at that point the angle grinder is the best chain removal tool I have. 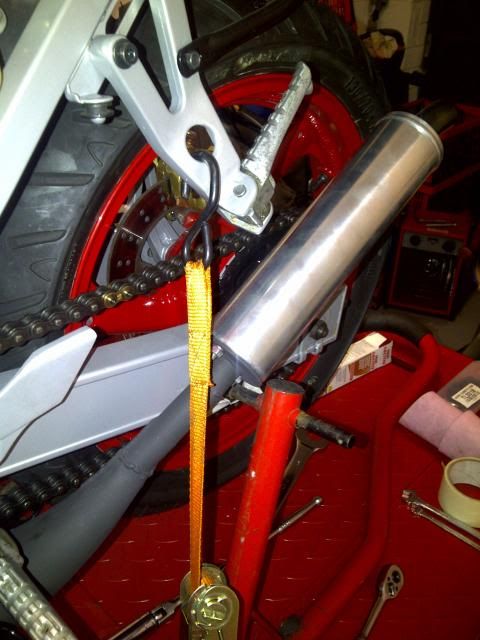 With the chain on and the rear brake filled I thought it was about time to put the cans on properly. So used a little gasket that sealed the flanges to be sure that no gas leaked at the join as I wouldn't want anything like that to come up on the MOT. And as I write this the new battery is on charge... |
|
|
|
|
21-02-14, 03:34 PM
|
#265 |
|
Guest
Posts: n/a
|
Fantastic and interesting thread - it's reminded me of my old TDR 250 that I had many moons ago....I did a bit of a rebuild on that but not your depth or scale !! Good luck with the start and remember to open the garage door as there will be LOTS of smoke

|
|
|
|
25-02-14, 12:48 AM
|
#266 |
|
Member
Mega Poster
Join Date: Apr 2005
Location: Sunny Swindon
Posts: 3,579
|
With a fully charged battery the first thing I did was to put the front sprocket nut and lock washer on. 90nm was the setting which is difficult to achieve as the rear wheel just slips. Luckily Stretchie showed up with some additional down force. With him sat on the bike I could get the nut tightened.
 And this now meant that the front sprocket cover and the gear change can go on. 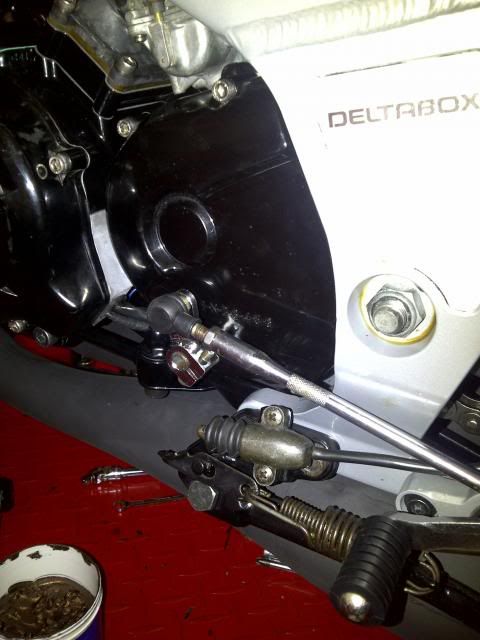 Now it was time for the battery to be connected. And the ignition was turned on. I was greeted with nothing. Not a bean, or to be more precise no powervalve servo action and no lights at the dash or headlight. Queue the fault finding. First thought was a faulty switch. I'm using a second hand switch so used the original. But this made no difference. Checked the switch, the handlebar switches, and everything at the front. All I found was on the dash loom connector the negative was on the wrong pin. It was fairly easy to swap over to the correct location. Trouble is still no electrics. More investigation and wire wiggling and finally the dash sprung to life. And with a little more so did the rest of the bike and the powervalve. The source was the fuses in the main fuse box. They were showing good by all tests but when I removed one it fell apart. The fuses were replaced and all was good. Now the other problems and solutions. First was the coolant. filling the system resulted in a leak. The seal in the thermostat wasn't working. Trouble is the seal is not a separate part and the thermostat is a tad on the expensive side. So and I admit this is straying into bodge territory some instant gasket was used to seal it. The following morning it was dry, the system filled and so far no leaks. The other issue was the powervalve servo not moving the valve properly. After some investigation the issue was located. It was my fault entirely. I screwed up the rooting of the cables. 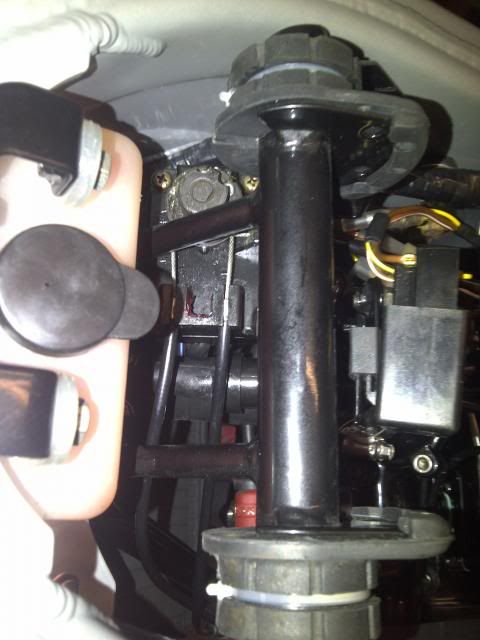 Firstly the above is the correct cable positions at the servo. I somehow had managed to have the cables both going to the same side. 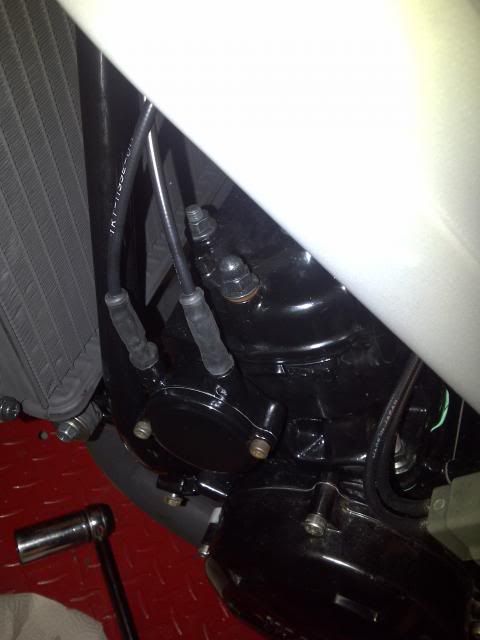 And the next thing was to ensure that the cables cross over. It looks wrong but is correct. There is even numbers on the cable housing and the servo to help. I will try the lack of clarity on the housing following powdercoating as to the reason, rather than oversight on my part. 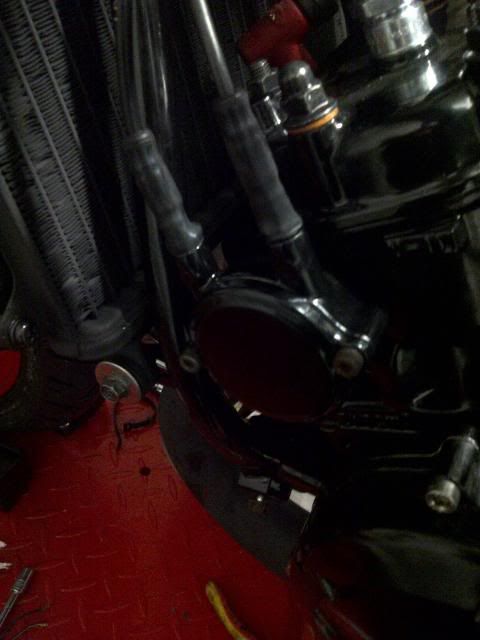 Finally the cables were fully adjusted and sealed up. Then it was to fill the engine with gearbox oil and the two stoke to the tank. And bleed the oil pump. Slight issue here as the electronic copy of the manual is missing the couple of pages that cover pump bleeding.  The short answer is with everything set up, open and close the throttle to activate the pump with the bleed screw in the centre of the picture open it and wait until the oil comes through with no bubbles. If you are looking for some better descriptions try the manual for the TDR250. Its the same engine so the same instructions. Its what I needed to resort to.
__________________
"A little enthusiastic?" May I add here, GG is awesome and I think I am in love with Stretchie...he rocks my world! SH2 | 2MA | GROM | YSR Last edited by squirrel_hunter; 25-02-14 at 12:49 AM. |
|
|
|
|
25-02-14, 12:51 AM
|
#267 |
|
Member
Mega Poster
Join Date: Apr 2005
Location: Sunny Swindon
Posts: 3,579
|
And now the bit that we have all been waiting for... The first starting.
I decided to use some premix as the oil wouldn't make it in just yet and I didn't want to risk any damage. 400ml of petrol and 20ml of oil. Added to that was a little kicking effort and well. The petrol overflowed the right carb and spilled out of the overflow pipe. But this cleared up on its own and hasn't spilt anything after the first little bit. I have some videos of the attempts but lets just say it doesn't make for good children's television. If I can workout a way of editing it then I will post it up. If not then I will try and have another go soon. Basically its alive! But just. It will only start on the choke. It dies once the choke is off. If I blip the throttle it dies. It doesn't idle well, and if it try's to it just dies off after a few seconds. The right cylinder is smoking more then the left, though both are just running from the same premix source. I'm thinking it a carb set up issue. But having never done this before I need some pointers please? |
|
|
|
|
25-02-14, 09:48 AM
|
#268 |
|
Guest
Posts: n/a
|
(Edited)
Assuming you've taken out the free play in both cables to both carbs, and you've checked both needles are in the middle position, screw both mixture screws all the way in (this will richen it) and then out two turns. Set idle accordingly and see if it'll idle. Work on one carb mixture screw at a time, and at idle adjust for highest idle. Then do the other carb. There may also be a high speed mix screw too, leave this alone for now and let me know how you get on. Sounds like it's running lean to me. Pulled the plugs out to check? You've a different set of cans on, that willl also affect mixture. You may need to move the needles up a notch or two. Got access to a colourtune kit? this would nail it for you. Last edited by atassiedevil; 25-02-14 at 09:57 AM. |
|
|
|
25-02-14, 09:53 AM
|
#269 |
|
Member
Mega Poster

Join Date: Feb 2010
Location: Troon, Ayrshire
Posts: 1,812
|
air leak?
|
|
|
|
|
25-02-14, 08:31 PM
|
#270 |
|
Member

Join Date: Jun 2009
Location: Nr Southend-on-Sea, Essex
Posts: 154
|
It sounds like its running lean. Spray wd40 around both side of the carb rubbers. If it starts running faster it's drawing the wd40 in somewhere!
__________________
10 GSX650F 95 BMW Funduro 89 FZR250R (x2) 92 RG80 (x2!) 89 AR125 - 89 RG125 75 CB200 |
|
|
|
 |
|
|
 Similar Threads
|
||||
| Thread | Thread Starter | Forum | Replies | Last Post |
| Garage can't find paint colour for the SV | Fifteen15 | SV Talk, Tuning & Tweaking | 21 | 09-09-11 11:04 PM |
| It's amazing what you find in your garage | dirtydog | Photos | 20 | 07-05-10 08:52 AM |
| Classic Bike find in garage | kwak zzr | Bikes - Talk & Issues | 13 | 13-03-09 06:42 PM |
| Where can I find clutch housing bolts? - Cant find any | mikeSV | SV Talk, Tuning & Tweaking | 2 | 24-03-08 12:30 PM |
| Where can I find a good garage in London | fred | SV Talk, Tuning & Tweaking | 4 | 20-01-06 03:34 PM |
